Key Takeaways
-
Start with 20-22 gauge silver or copper wire for beginner-friendly projects
-
Essential tools include round-nose pliers, wire cutters, and a ring mandrel
-
Master basic loops and spirals before attempting complex designs
-
Measure ring size accurately using a ring sizer or mandrel for perfect fit
-
Practice consistent wire tension for professional-looking results
-
Annealing wire makes it more workable for intricate designs
-
Start with simple band styles before progressing to stone-setting techniques
-
Keep wire ends smooth and tucked for comfortable wearing
-
Discover premium wire wrapping supplies and inspiration at Alexa Martha Designs
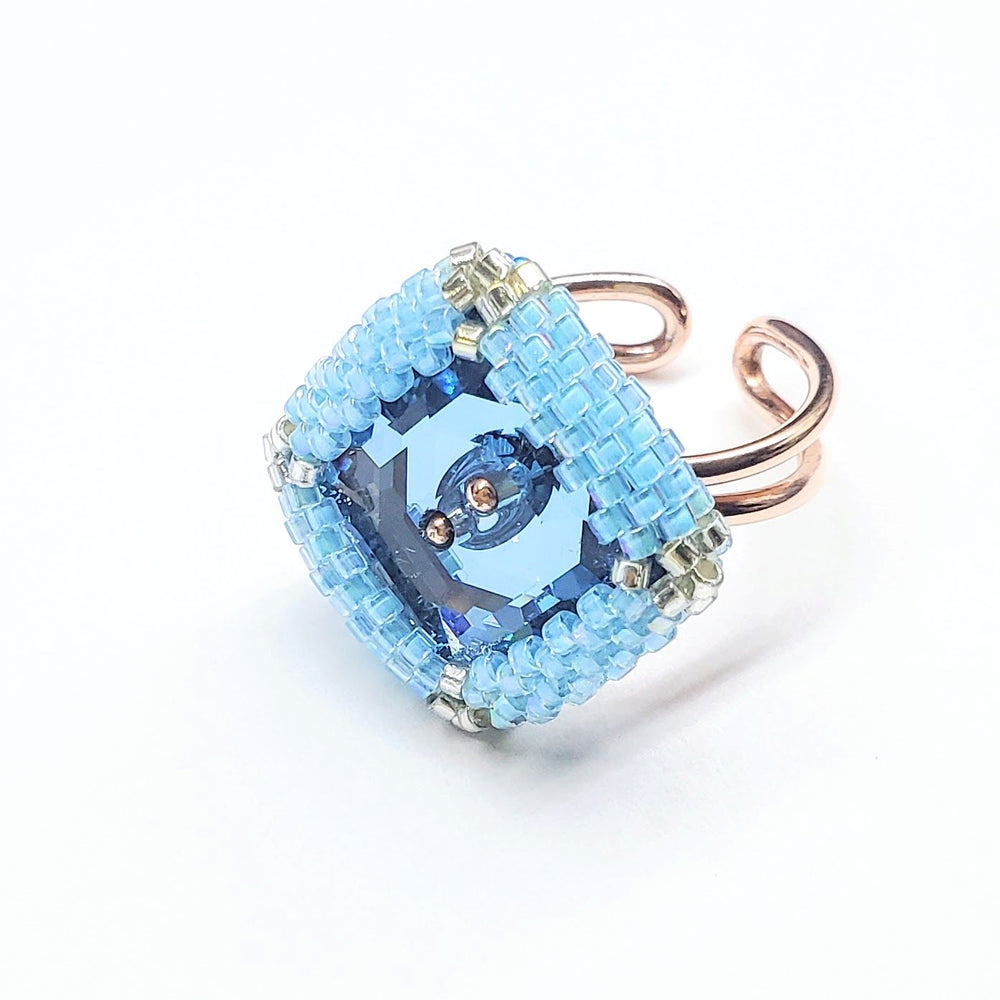
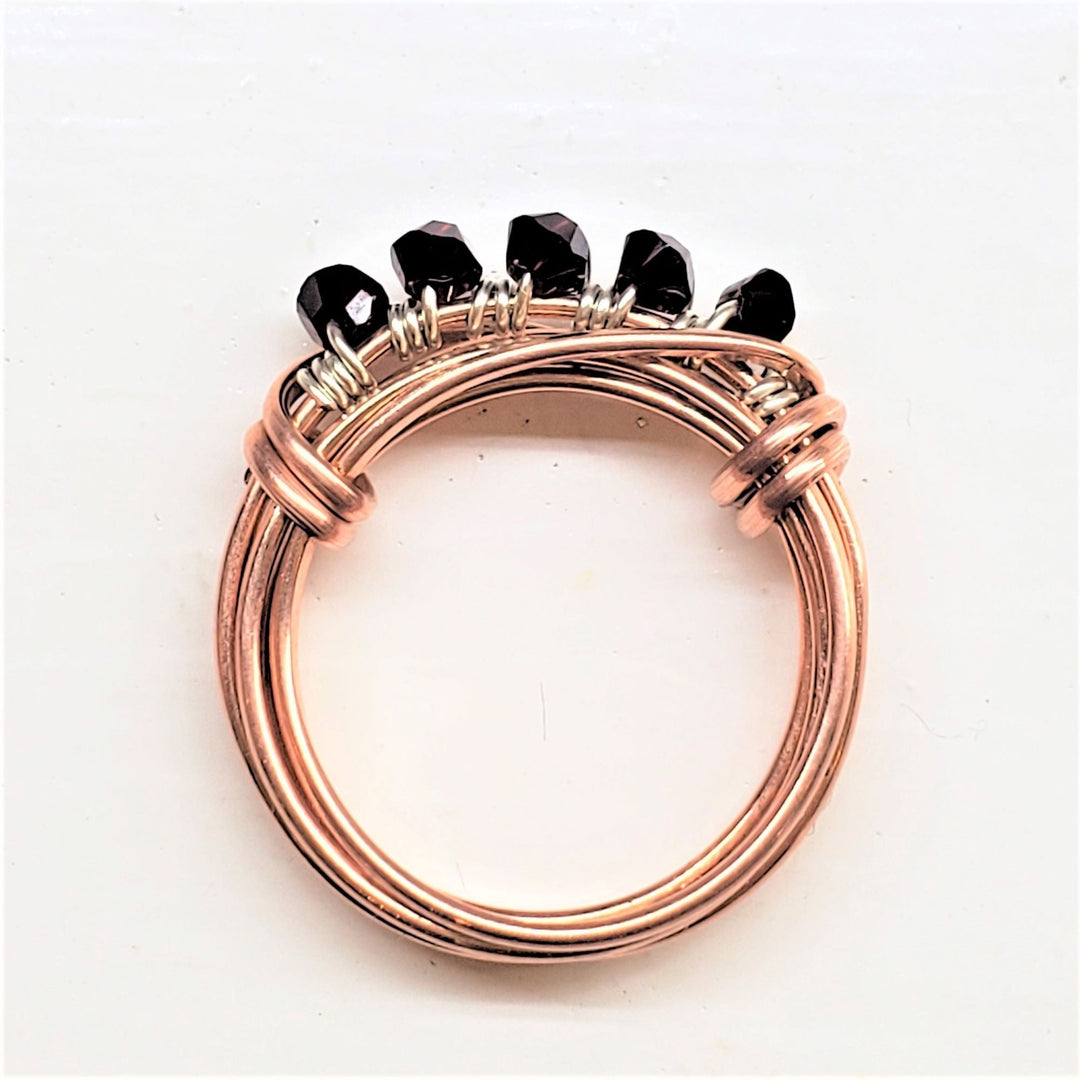
Wire Wrapped Antiqued Silver Super Sparkly Multi Band Bling Ring

Creating handmade wire-wrapped rings is one of the most rewarding and accessible forms of jewelry making. Whether you're completely new to wire wrapping-jewelry for beginners or looking to expand your crafting skills, learning how to make wire-wrapped rings opens up endless possibilities for personal expression and unique jewelry creation. This comprehensive guide will walk you through everything from selecting the best wire for making rings to mastering advanced techniques for custom wire-wrapped rings.
What is Wire Wrapping and Why Start with Rings?
Wire wrapping is an ancient jewelry-making technique that uses wire to create decorative elements, secure stones, and form complete jewelry pieces without soldering. Rings make an excellent starting point for several reasons:
Accessibility for Beginners Unlike complex necklaces or bracelets, rings require minimal wire and can be completed in a single session. This makes them perfect for learning fundamental techniques without significant material investment.
Instant Gratification Most basic wire wrapped rings can be completed in 30-60 minutes, providing immediate results that boost confidence and motivation to continue learning.
Practical Application Rings are wearable art that you can enjoy daily or give as meaningful handmade gifts, making every practice session worthwhile.
Skill Building Foundation The techniques learned in ring making - loops, spirals, coiling, and wire shaping - form the foundation for all other wire wrapping projects.
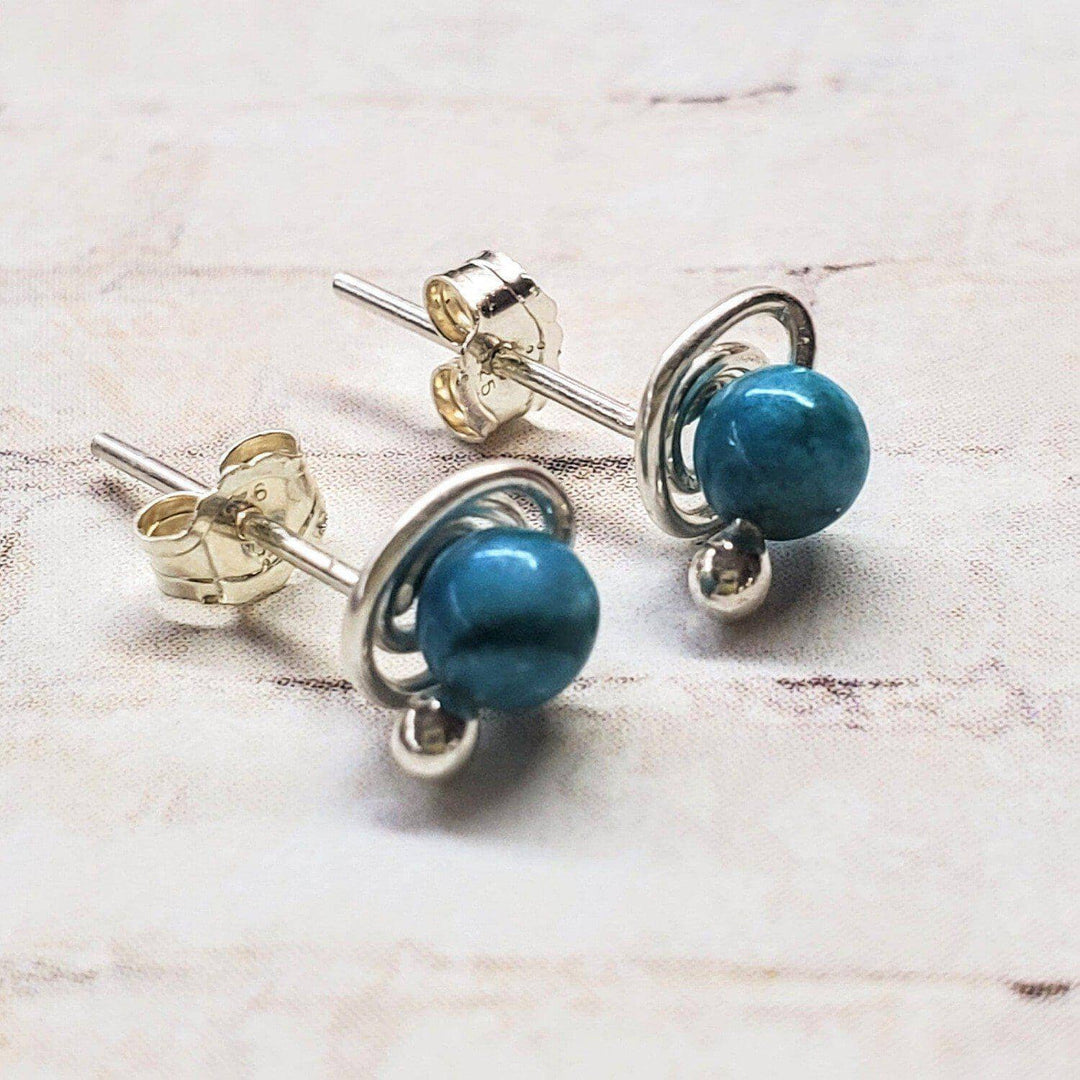
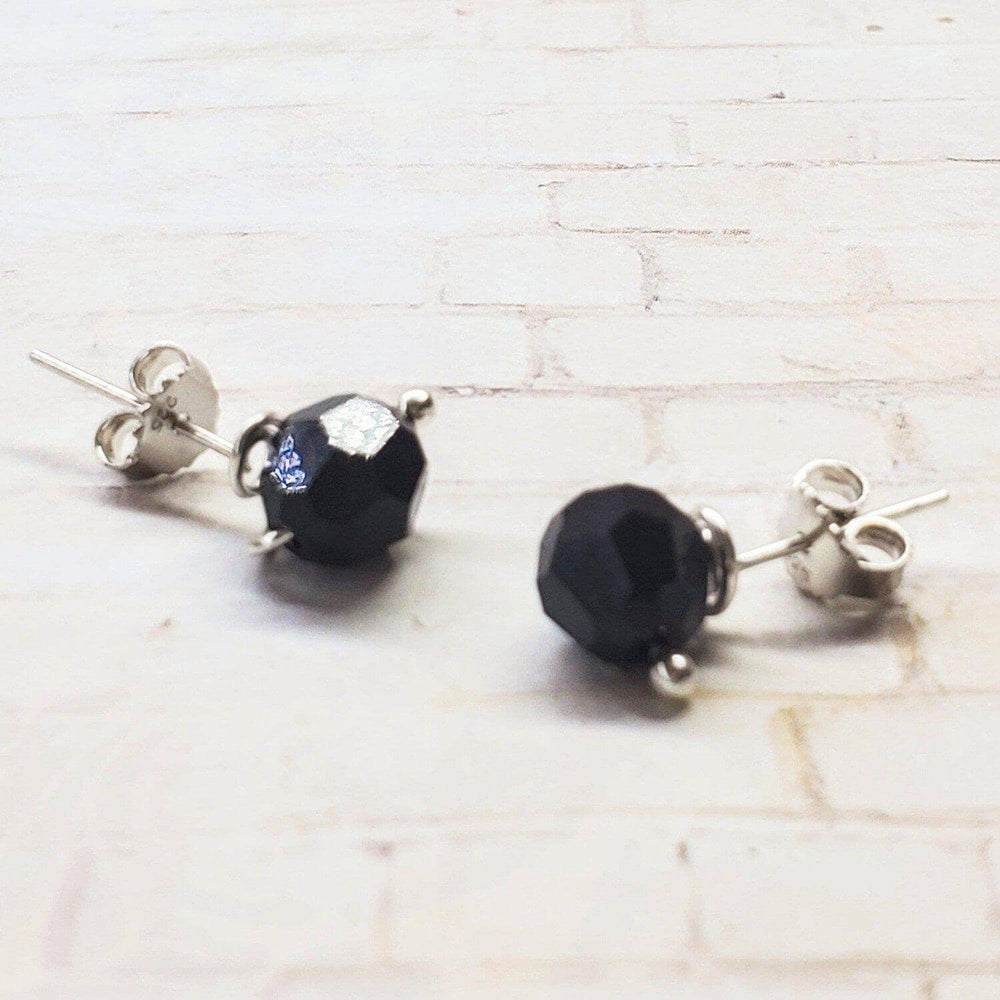
Essential Materials and Tools for Wire Wrapped Rings
Choosing the Best Wire for Making Rings
Wire Gauge Recommendations
14-16 Gauge Wire (1.5mm
-
Not for beginners not easy to manipulate
-
Very Strong for multi ring bands very ridgit
-
Available in copper, silver, and gold-filled options
-
Ideal for experienced wrapping techniques
Alexa Martha Designs features a lot of wire wrapped rings in that 14 and 16 gauge
Wire Wrapped Pink Crystal Heart Glam Ring by Alexa
18-19 Gauge Wire (1.0-0.9mm)
-
Better for structural elements and ring shanks
-
Requires more strength to manipulate but creates sturdier rings
-
Excellent for rings that will see daily wear
-
Professional appearance with proper finishing
20-22 Gauge Wire (0.8-0.6mm)
-
Perfect for beginners due to easy manipulation
-
Strong enough for ring bands while remaining workable
-
Available in copper, silver, and gold-filled options
-
Ideal for basic wrapping techniques
24-26 Gauge Wire (0.5-0.4mm)
-
Perfect for decorative wrapping and fine details
-
Too thin for main ring structure but excellent for accents
-
Easy to work with for intricate patterns
-
Great for securing stones or beads
Wire Material Options
Copper Wire
-
Most affordable option for learning and practicing
-
Develops beautiful patina over time with natural oxidation
-
Easy to work with due to softness
-
May cause skin discoloration in some people
Sterling Silver Wire
-
Premium appearance with lasting value
-
Hypoallergenic for most people with sensitive skin
-
Maintains bright finish with proper care
-
Higher cost but excellent for special pieces
Gold-Filled Wire
-
Combines gold appearance with affordability
-
14k gold layer over brass core provides durability
-
Won't tarnish or flake like gold-plated alternatives
-
Excellent choice for gifts or special occasions
Essential Tools for Success
Basic Tool Kit
-
Round-nose pliers: Creating perfect loops and curves
-
Flat-nose pliers: Gripping and straightening wire
-
Wire cutters: Clean cuts without crushing wire ends
-
Ring mandrel: Achieving accurate ring sizes
-
Steel bench block: Supporting wire during shaping
-
Chasing hammer: Texturing and work-hardening wire
Advanced Tools for Better Results
-
Bail-making pliers: Consistent loops and curves
-
Ring sizing gauge: Accurate measurements
-
Tumbler: Professional finishing and work-hardening
-
Files and sandpaper: Smoothing sharp edges
-
Annealing torch: Softening wire for complex work
Step-by-Step Tutorial: Basic Wire Wrapped Ring
Project 1: Simple Spiral Ring
This beginner-friendly project teaches fundamental wire manipulation skills while creating an elegant, wearable ring.
Materials Needed:
Step-by-Step Instructions:
Step 1: Prepare Your Wire Cut your wire to 8 inches and file any sharp ends smooth. If using copper wire, you may want to clean it with fine steel wool for a bright finish.
Step 2: Create the Center Spiral Using round-nose pliers, grip one end of the wire and create a small loop by rotating the pliers 360 degrees. Continue wrapping the wire around this initial loop, maintaining consistent spacing to form a flat spiral about 10mm in diameter.
Step 3: Form the Ring Band With 4-5 inches of wire remaining, position the spiral where you want it on the ring. Wrap the remaining wire around your ring mandrel (or finger) to form the band, ensuring the spiral stays positioned correctly.
Step 4: Secure and Finish Wrap any excess wire around the band base to secure the spiral in place. Tuck the wire end smoothly against the band, filing if necessary to eliminate any sharp edges.
Important Note: Take your time with each wrap - consistent tension and spacing create professional-looking results even with basic techniques.
Project 2: Stone-Set Wire Wrapped Ring
Once you've mastered basic techniques, incorporating stones adds elegance and personalization to your custom wire wrapped rings.
Materials for Stone Setting:
-
12 inches of 20-gauge wire for the band
-
6 inches of 24-gauge wire for stone setting
-
One cabochon or tumbled stone (8-12mm)
-
Additional tools: stone-setting pliers (optional)
Advanced Techniques:
Creating a Bezel Setting Form a wire cage around your stone using the thinner 24-gauge wire. This requires patience but creates a secure, professional setting that showcases the stone beautifully.
Prong Setting Method For faceted stones, create wire prongs that hold the stone securely while allowing maximum light penetration. This technique requires more precision but produces stunning results.
Real User Experiences: Learning from the Community
Success Stories from Beginners
Sarah, Art Teacher from Oregon: "I started making wire wrapped rings during the pandemic as a stress-relief activity. My first attempts were wobbly and uneven, but I kept practicing. Now, six months later, I've made over 50 rings and even started selling them at local craft fairs. The key was accepting that my first rings wouldn't be perfect and focusing on improving one technique at a time."
Mike, Retiree from Florida: "As someone who never considered himself artistic, I was surprised how much I enjoyed wire wrapping. I started with simple copper rings and gradually worked up to silver pieces with stones. The satisfaction of wearing something you made with your own hands is incredible. I've given rings to all my grandchildren, and they treasure them because Grandpa made them."
Learning from Challenges
Jennifer, College Student from California: "My biggest mistake early on was buying cheap wire from a craft store. It was inconsistent in thickness and hard to work with. Once I invested in quality jewelry-making wire, my rings immediately looked more professional. Also, I learned that practicing the same technique multiple times builds muscle memory - now I can make a basic spiral ring in about 15 minutes."
David, Engineer from Texas: "I approached wire wrapping like an engineering problem, trying to plan every detail in advance. What I learned is that wire has its own personality, and you need to work with it, not against it. Some of my best rings happened when I let the wire guide the design rather than forcing a predetermined pattern."
These experiences highlight that wire wrapping jewelry for beginners is as much about developing patience and intuition as it is about learning specific techniques.
Advanced Techniques for Custom Wire Wrapped Rings
Creating Textured Surfaces
Hammering Techniques Using a chasing hammer on a steel bench block, you can create various textures:
-
Light tapping: Subtle texture and work-hardening
-
Heavy strikes: Bold, faceted surfaces
-
Angled blows: Linear patterns and directional texture
Wire Twisting Methods Creating twisted wire elements adds sophistication to your designs:
-
Two-wire twist: Classic rope appearance
-
Three-wire braid: More complex, decorative pattern
-
Graduated twist: Varying twist density for visual interest
Stone Integration Techniques
Wire Cage Construction For irregularly shaped stones, creating a custom wire cage ensures secure setting while maintaining the stone's natural beauty. This technique requires planning the wire path to both secure the stone and create an aesthetically pleasing pattern.
Multiple Stone Settings Advanced rings can incorporate multiple stones using various setting techniques. Planning the overall design becomes crucial to ensure both visual balance and structural integrity.
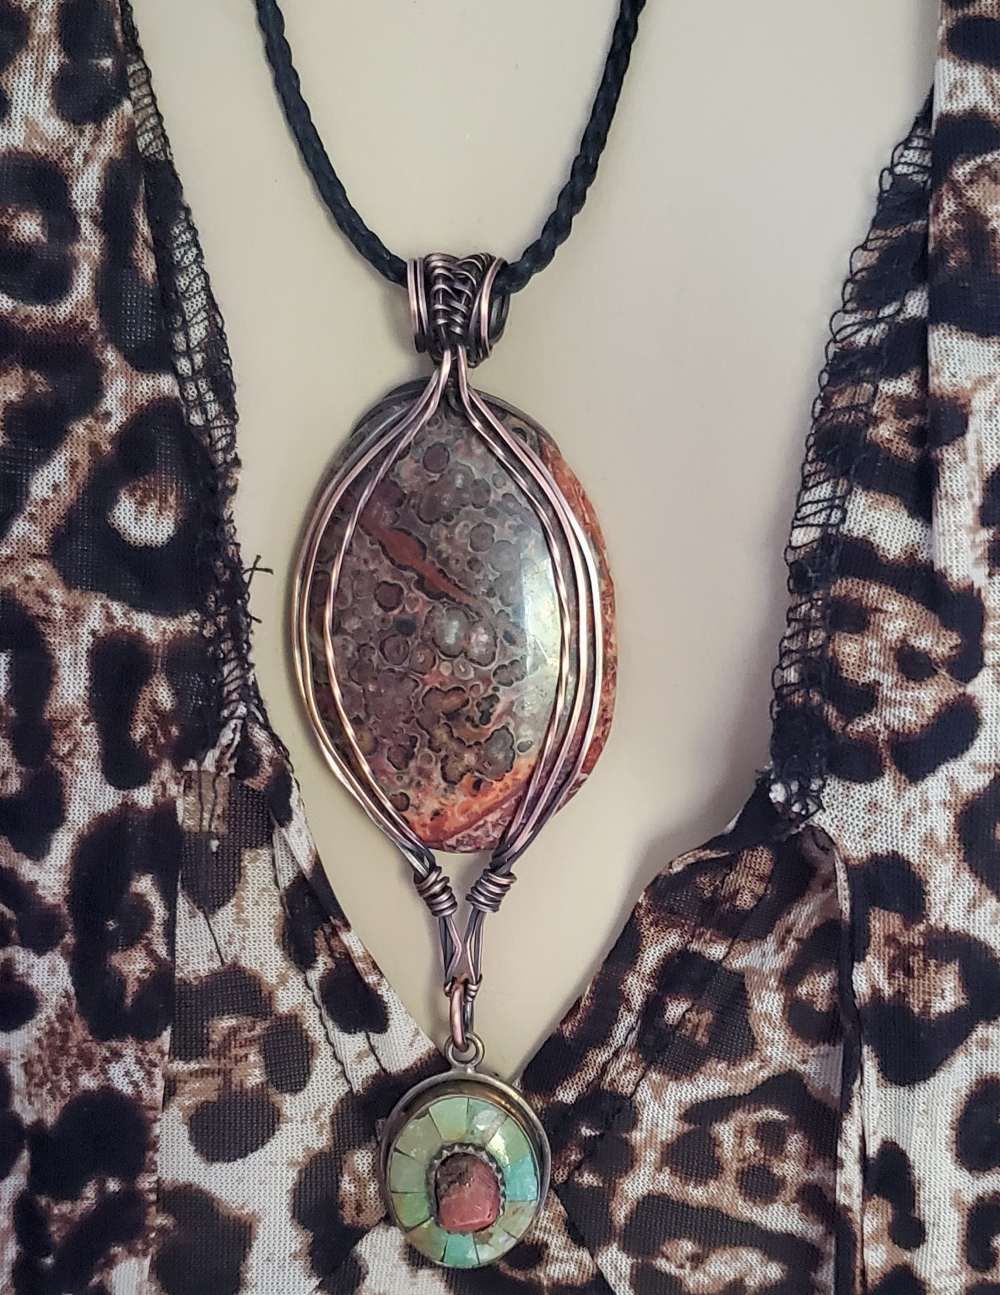
Wire Wrapped Lapis Lazuli Copper Ring original design by Alexa Martha Designs
Professional Finishing Techniques
Work-Hardening Methods Properly hardened wire maintains its shape and provides durability:
-
Tumbling: Professional finish with consistent results
-
Hammering: Selective hardening of specific areas
-
Drawing through plates: Achieving perfect wire consistency
Common Mistakes and How to Avoid Them
Sizing Issues
The Problem: Rings that are too small or too large are unwearable, regardless of how beautiful they are.
The Solution: Always use a proper ring sizer or mandrel. Remember that wire thickness affects the final internal diameter - account for this in your measurements. When in doubt, make the ring slightly larger, as it's easier to make adjustments for a loose ring than a tight one.
Sharp Wire Ends
The Problem: Poorly finished wire ends can scratch skin and snag clothing.
The Solution: Always file wire ends smooth and tuck them securely against the ring band. Use progressively finer sandpaper or files to eliminate any sharp edges. A properly finished ring should feel smooth when worn.
Inconsistent Wire Tension
The Problem: Loose or overly tight wraps create unprofessional appearance and structural weakness.
The Solution: Practice maintaining consistent pressure while wrapping. Your hands will develop muscle memory with repetition. If you notice inconsistency, unwrap and start that section again rather than trying to compensate.
Poor Planning
The Problem: Running out of wire mid-project or discovering design flaws too late to correct easily.
The Solution: Always cut more wire than you think you need - extra can be trimmed, but shortages require starting over. Sketch your design or make a practice version in copper before working with precious metals.
Design Inspiration and Variations
Nature-Inspired Designs
Vine and Leaf Patterns Create organic-looking rings that mimic natural growth patterns. These designs work particularly well with green stones like aventurine or jade.
Tree of Life Motifs Incorporate the popular tree of life symbol using fine wire branches and small beads or crystals to represent leaves.
Geometric Patterns
Celtic Knot Designs Traditional Celtic patterns adapt beautifully to wire wrapping, though they require patience and precision to execute properly.
Art Deco Influences Clean lines and geometric shapes create sophisticated rings perfect for formal wear or special occasions.
Mixed Media Combinations
Wire and Bead Integration Combining wire work with glass beads, pearls, or crystals creates rich, textural contrasts that enhance both materials.
Metal Stamping Additions Incorporating stamped metal elements with wire work creates unique focal points and adds personalization options.
Building Your Wire Wrapping Toolkit
Essential Supplies for Ongoing Projects
Wire Inventory Management Maintain an organized supply of different gauges and metals. Proper storage prevents tangling and oxidation that can affect wire quality.
Tool Maintenance Keep pliers clean and properly aligned. Dull or damaged tools create poor results and can be frustrating to use. Regular maintenance ensures consistent performance.
Workspace Organization A well-organized workspace improves efficiency and reduces frustration. Good lighting is essential for detailed work, and proper seating prevents fatigue during longer sessions.
Expanding Your Skills
Practice Schedules Regular practice, even 15-30 minutes daily, builds skills more effectively than occasional long sessions. Focus on one technique per session for better retention.
Learning Resources Books, online tutorials, and local classes each offer different learning approaches. Combining multiple resources accelerates skill development and exposes you to various techniques and styles.
For those seeking high-quality wire wrapping supplies and unique design inspiration, Alexa Martha Designs offers carefully curated materials and finished pieces that showcase the potential of wire wrapping artistry.
Frequently Asked Questions
What's the best wire gauge for beginners to start with?
20-22 gauge wire is ideal for beginners because it's substantial enough to maintain shape while remaining easy to manipulate. This gauge works well for both ring bands and decorative elements, allowing you to learn various techniques without switching wire types.
How do I determine the correct ring size?
Use a proper ring sizer or mandrel for accurate measurements. Remember that wire thickness affects the internal diameter - thicker wire requires starting with a larger mandrel size. When making rings for others, always confirm the size rather than guessing.
Can I use craft store wire for jewelry making?
While craft store wire works for practice, jewelry-making wire offers better consistency, quality, and appearance. The investment in proper materials becomes apparent in the finished results and durability of your pieces.
How do I prevent my copper rings from turning my finger green?
Copper oxidation causes skin discoloration. You can slow this process by applying clear nail polish to the inside of the ring, using jewelry wax, or switching to silver or gold-filled wire for pieces you'll wear regularly.
What stones work best for wire wrapped rings?
Cabochon stones (smooth, rounded tops) are easiest for beginners. Avoid extremely hard stones like sapphires or very soft stones like turquoise until you've mastered basic setting techniques. Tumbled stones also work well for practice.
How long does it take to make a wire wrapped ring?
Simple rings can be completed in 30-60 minutes, while complex stone-set rings might take several hours. Your speed will improve with practice, but never rush the finishing details that ensure comfort and durability.
Do I need special tools to get started?
Basic round-nose pliers, flat-nose pliers, and wire cutters are sufficient for simple rings. A ring mandrel helps with sizing but isn't absolutely necessary - you can use a wooden dowel or even your own finger for basic projects.
Taking Your Wire Wrapping to the Next Level
Advanced Project Ideas
Once you've mastered basic techniques, consider these challenging projects:
Multi-Band Designs Create rings with multiple interconnected bands that move independently while maintaining structural integrity.
Kinetic Elements Incorporate spinning or moving parts that add interactive elements to your designs.
Mixed Metal Combinations Combine different metals (copper, silver, brass) in single designs for complex color and texture relationships.
Abstract Asymmetric Triangle Copper Silver Beaded Ring

Selling Your Creations
Many wire wrap enthusiasts eventually consider selling their work. Success requires:
Quality Consistency
Every piece must meet professional standards for finish quality and durability.
Unique Design Development
Develop signature styles that distinguish your work in the marketplace.
Proper Photography
High-quality photos are essential for online sales success.
Fair Pricing
Account for materials, time, and skill level when pricing your work.
Conclusion: Embracing the Art of Wire-Wrapped Rings
Learning how to make wire-wrapped rings is a journey that combines technical skill development with artistic expression. The techniques you master while creating handmade wire-wrapped rings will serve as the foundation for all your future jewelry-making adventures. Whether you're interested in wire-wrapping jewelry for beginners or aspire to create sophisticated custom wire-wrapped rings, the key to success lies in patient practice and gradual skill building.
The most rewarding aspect of wire wrapping isn't just the finished jewelry - it's the meditative process of working with your hands, the satisfaction of solving design challenges, and the joy of creating something uniquely yours. Every ring you make teaches you something new about working with wire, understanding proportions, and developing your personal artistic voice.
Start with simple projects using the best wire for making rings - quality materials make the learning process more enjoyable and produce better results. As your confidence grows, don't be afraid to experiment with new techniques, incorporate different stones, or develop your own design variations.
Ready to begin your wire wrapping journey? Explore the carefully curated selection of wire wrapping supplies, tools, and design inspiration at Alexa Martha Designs. Our collection includes everything you need to get started, from beginner-friendly materials to professional-grade tools that will support your growth as a wire wrap artist.
Remember, every expert was once a beginner. Your first ring might not be perfect, but it will be uniquely yours and the first step in a rewarding creative journey that can last a lifetime.


Leave a comment