Key Takeaways
-
Time-Saving Overview: Learn to create beautiful spiral cage charms in under 30 minutes with basic wire-working skills
-
Versatility: Customize with different wire gauges, materials, and stones to match any style
-
Skill Building: Master a foundational wire-wrapping technique that can be applied to numerous jewelry projects
-
Cost-Effective: Create professional-looking jewelry at a fraction of retail prices
-
Gift-Worthy Results: Make personalized handmade jewelry perfect for gifts or selling
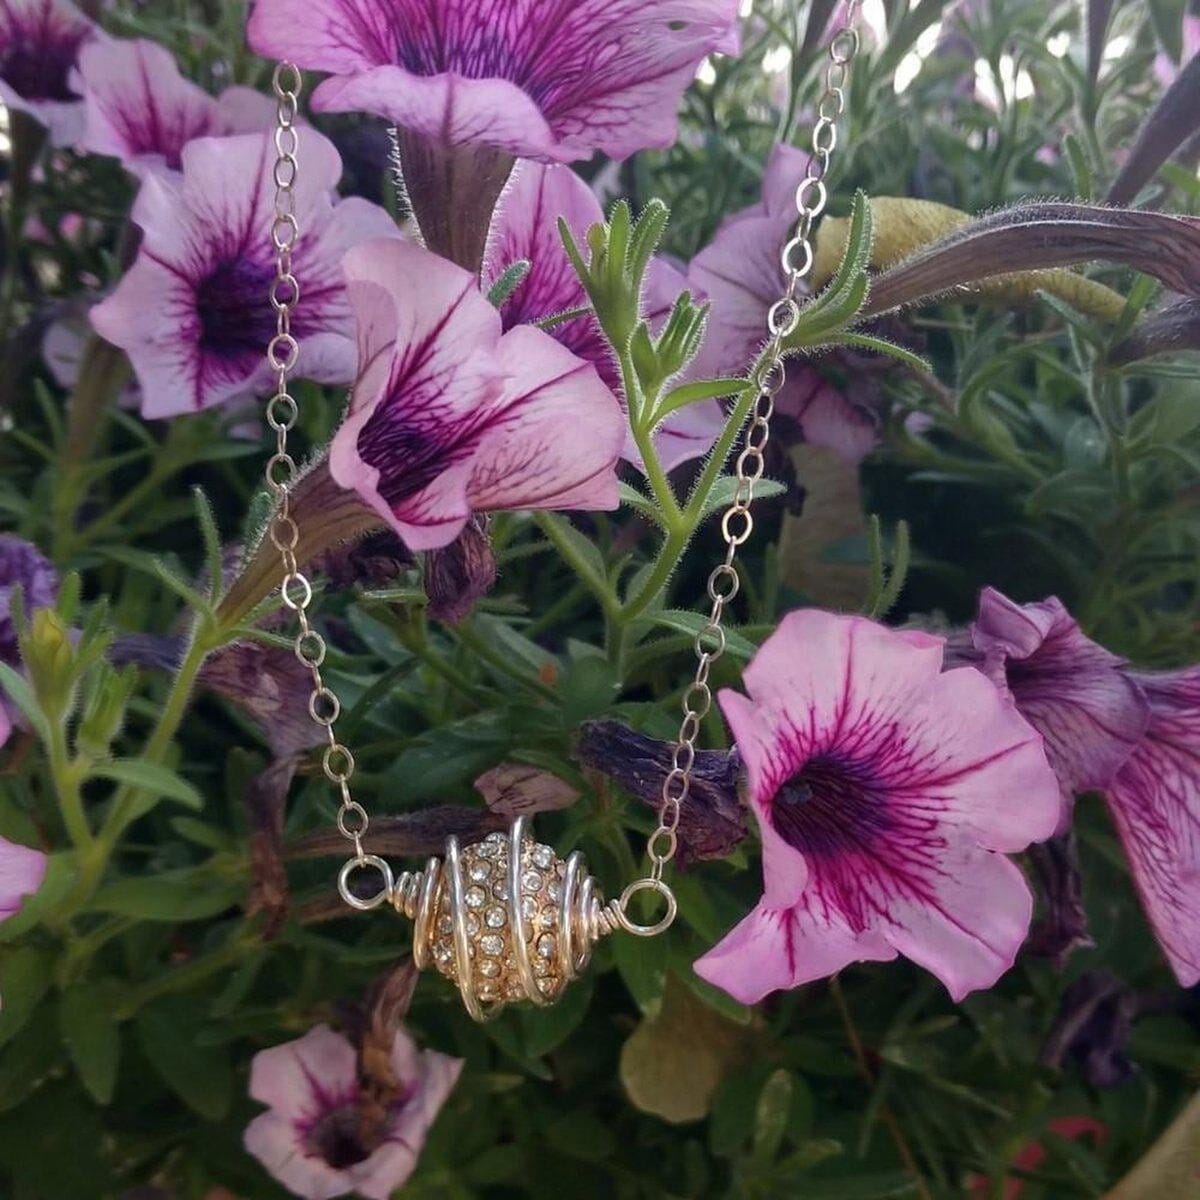
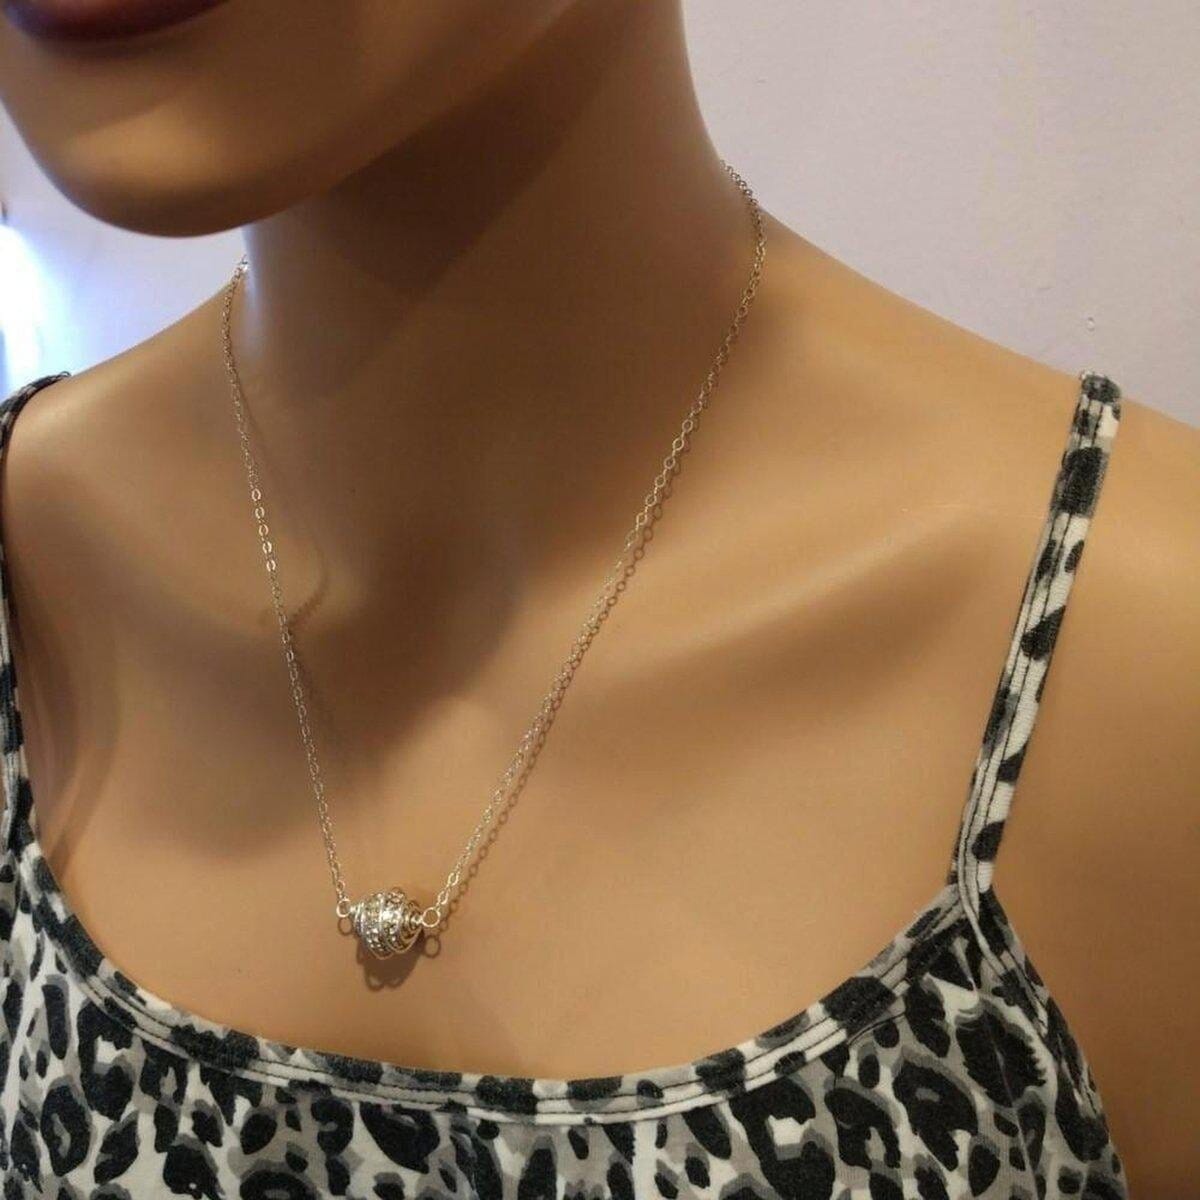
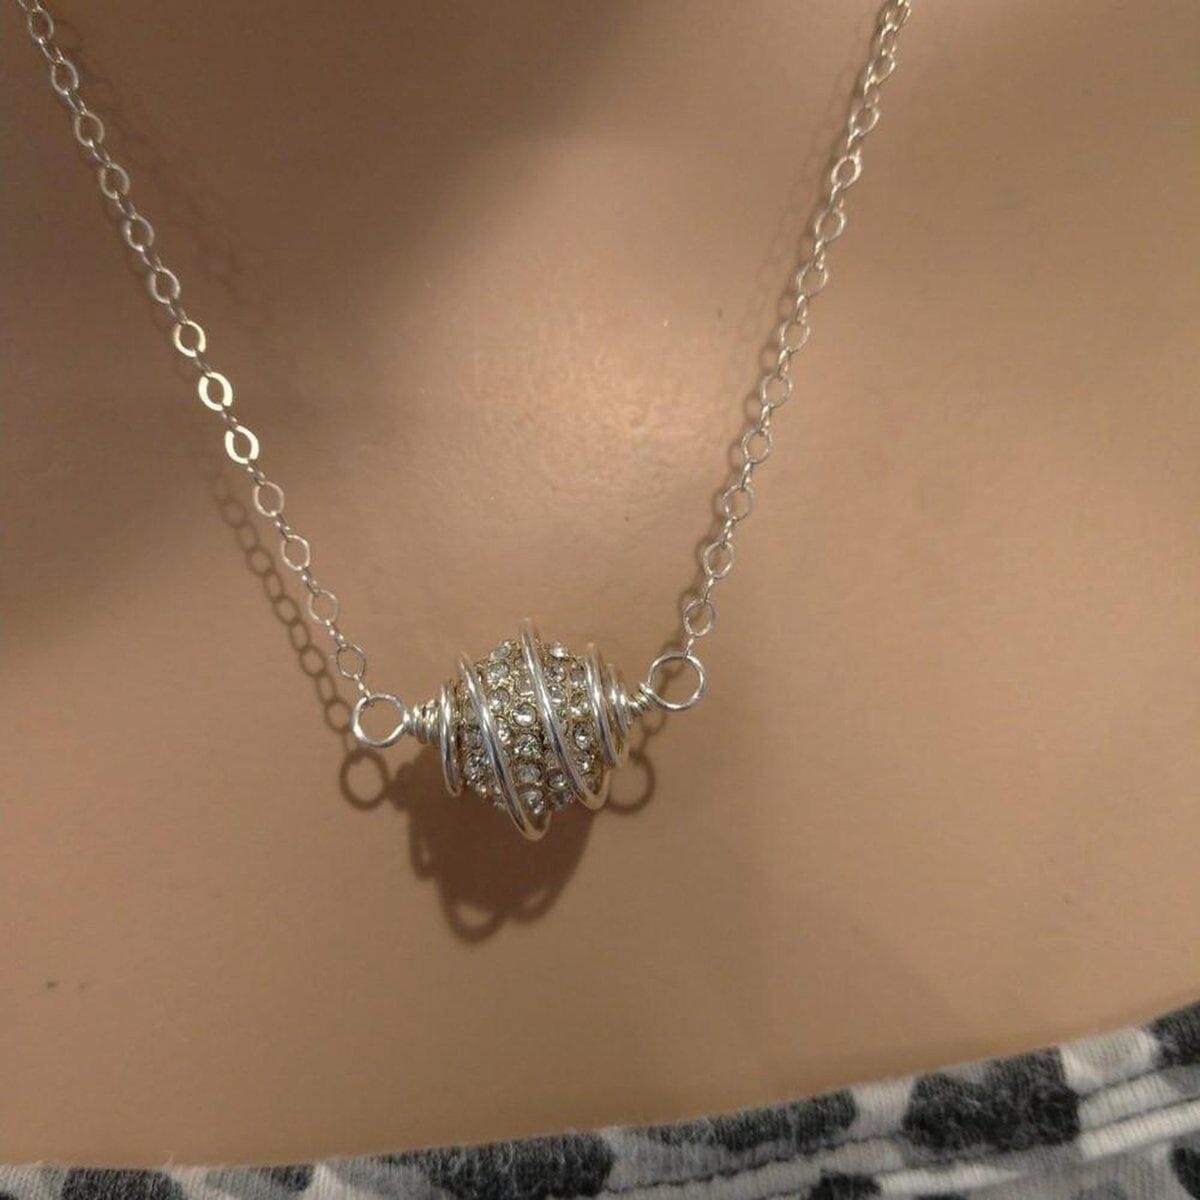
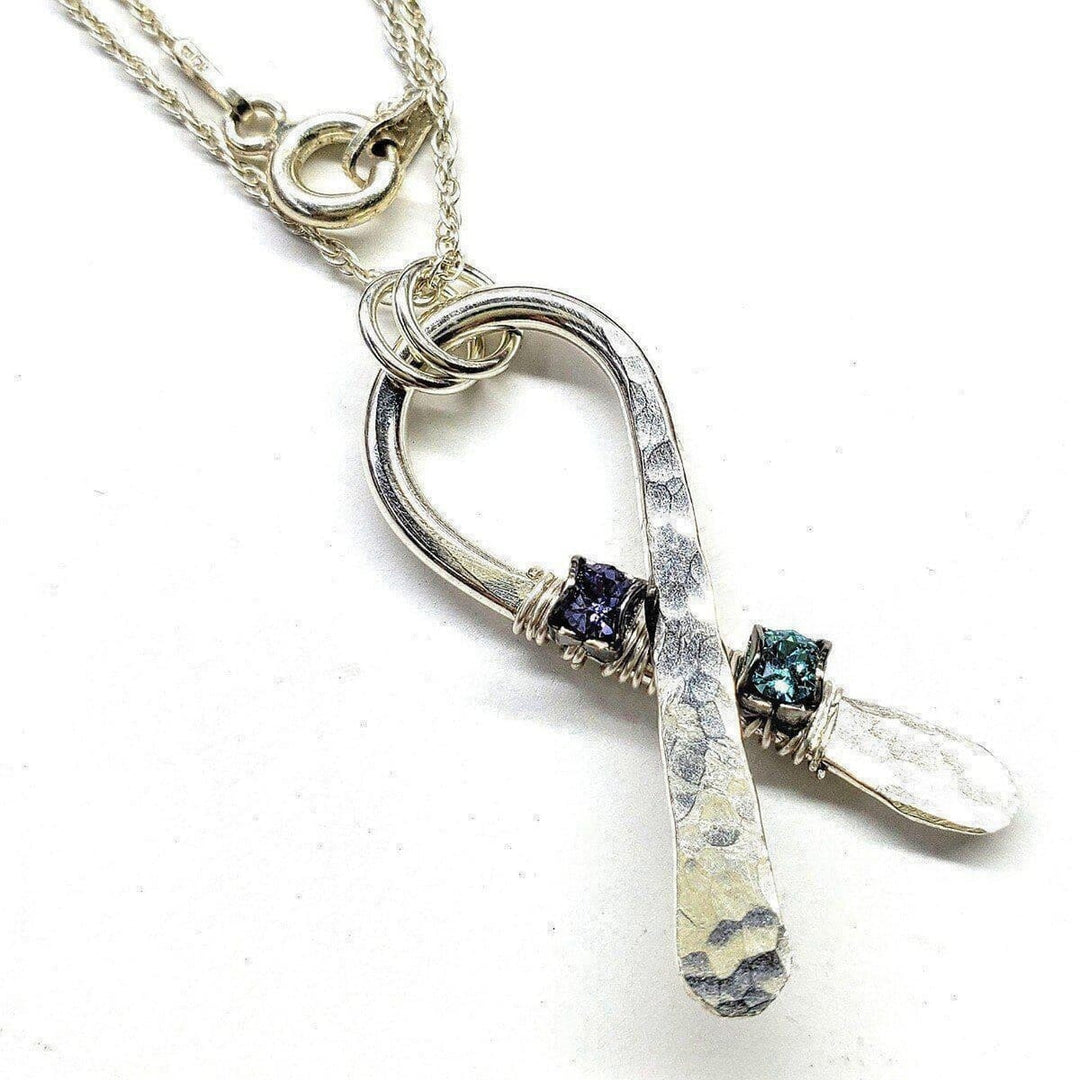
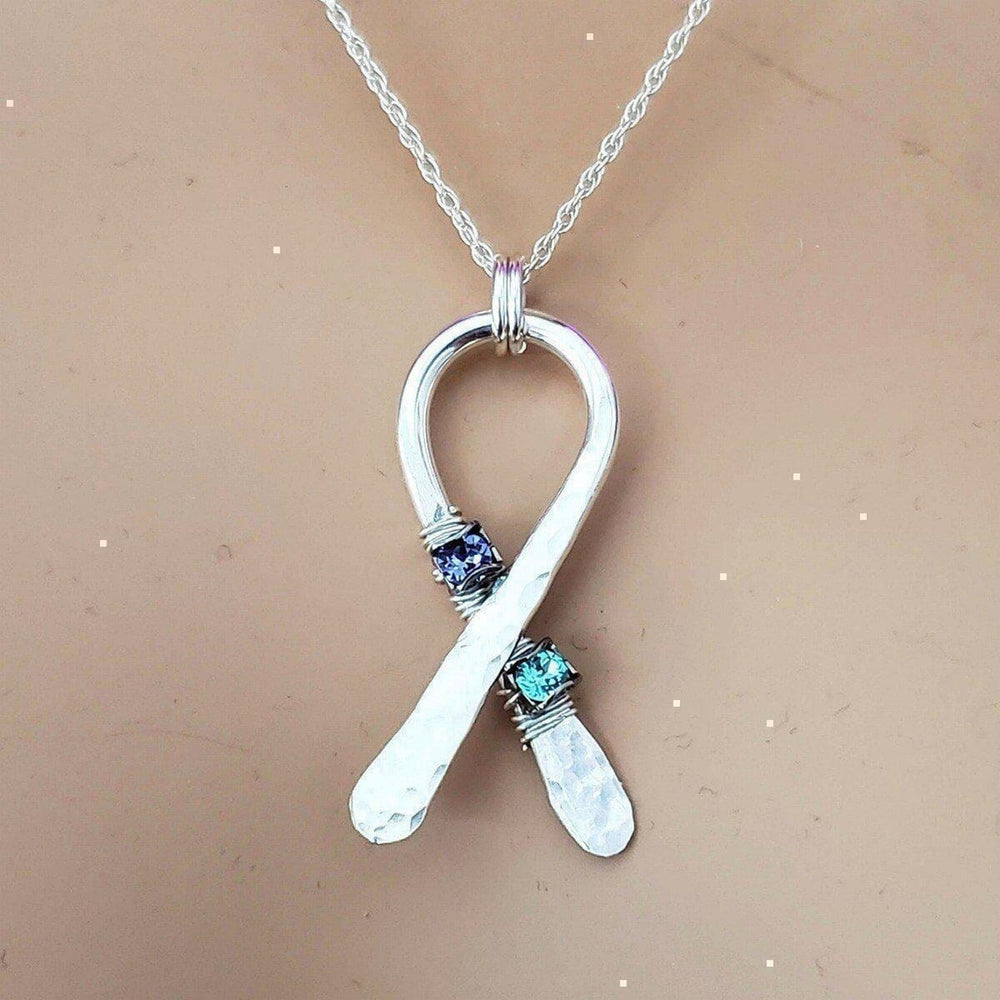
Looking for ready-made spiral cage jewelry? Check out our Sterling Silver Spiral Cage Crystal Ball Necklace or browse our complete collection.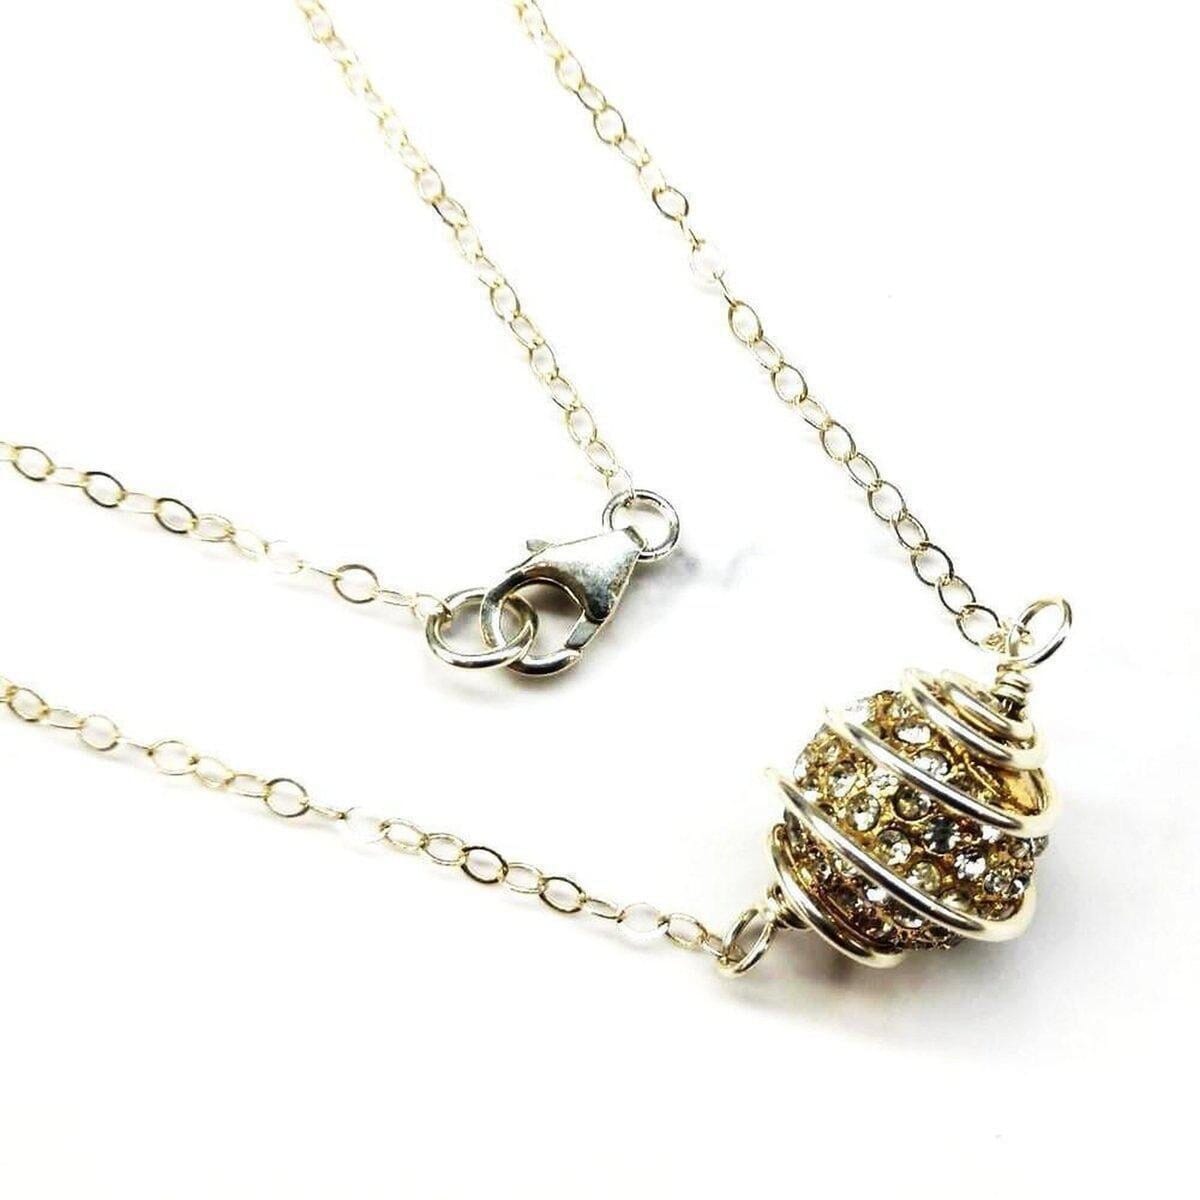
https://alexamarthadesigns.com/products/sterling-silver-spiral-cage-crystal-ball-necklace
Introduction to Spiral Cage Charms
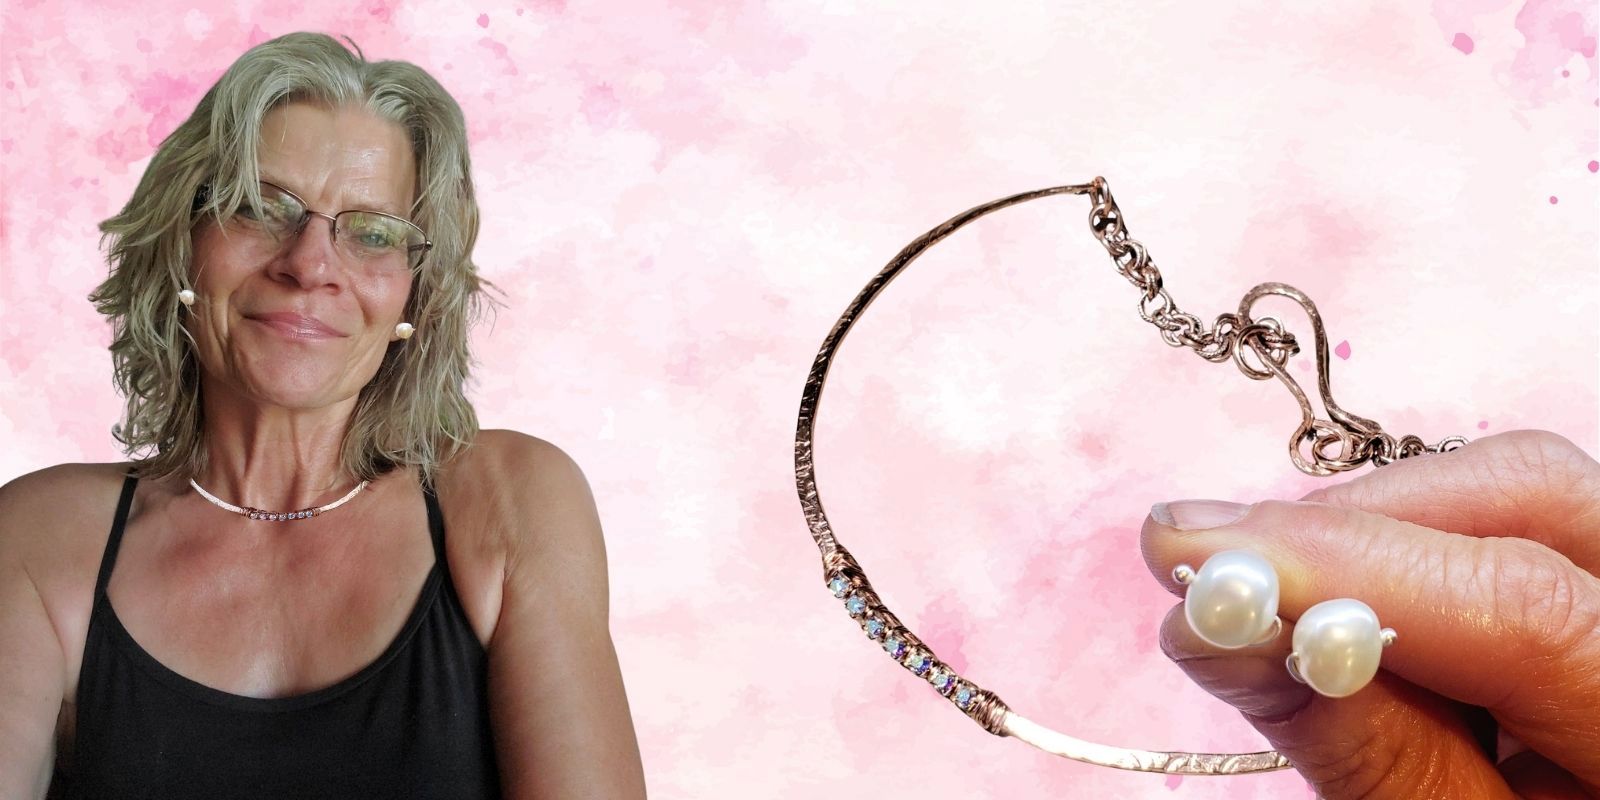
Spiral cage charms are among the most enchanting and versatile elements in handmade jewelry. These delicate wire structures create a beautiful framework that can hold crystals, gemstones, beads, or other treasures while allowing them to remain visible and catch the light from all angles. The spiral design not only serves as a secure setting for your chosen stones but also adds an artistic, handcrafted element to any jewelry piece.
What makes spiral cage charms particularly appealing is their accessibility—with just a few basic tools and materials, even beginners can create professional-looking results. Whether you're crafting a special gift, starting a small jewelry business, or simply enjoying a creative hobby, mastering this technique will expand your jewelry-making repertoire significantly.
In this comprehensive guide, I'll walk you through the entire process of creating your own spiral cage charms using wire. You'll learn about selecting the right materials, mastering the basic technique, and exploring creative variations to make your spiral cage charms truly unique.
Materials and Tools You'll Need
Essential Wire for Spiral Cage Charms
The foundation of any spiral cage charm is the wire itself. Your choice of wire will influence both the appearance and durability of your finished piece:
-
Wire Gauge: For most spiral cage charms, 20-24 gauge wire works best. The lower the number, the thicker the wire—20 gauge provides sturdier cages suitable for heavier stones, while 24 gauge creates more delicate cages better for lighter elements.
-
Wire Material Options:
-
Sterling Silver: Creates professional, tarnish-resistant pieces that are perfect for sensitive skin (ideal for 925 sterling silver wire)
-
Gold-Filled Wire: Offers the look of gold at a more affordable price point
-
Copper: Provides a warm, rustic appearance that develops a beautiful patina over time
-
Colored Craft Wire: Available in various colors for creative, playful designs
-
Tools for Success
Having the right tools will make your wire-wrapping experience much more enjoyable:
-
Round-Nose Pliers: Essential for creating loops and curves
-
Chain-Nose or Flat-Nose Pliers: Helps with gripping and bending wire
-
Wire Cutters: For clean cuts that minimize sharp edges
-
Ruler or Measuring Tape: Ensures consistent wire lengths
-
Mandrel or Cylindrical Object: Helps create uniform spirals (a pen, marker, or dowel can work)
-
Optional: Nylon-jaw pliers to prevent marking soft wires
Stones and Beads to Showcase
The beauty of spiral cage charms lies in what they display:
-
Tumbled Stones: Smooth, rounded stones work best in cages
-
Crystal Points: Create dramatic pendants with exposed crystal points
-
Glass or Gemstone Beads: Round beads are easiest for beginners
-
Marbles: Inexpensive and come in beautiful colors and patterns
-
Sea Glass: Creates unique, organic-looking jewelry pieces
Step-by-Step Guide to Creating Basic Spiral Cage Charms
Preparation Phase
-
Plan Your Design: Decide on the size of your cage based on what you'll be putting inside. Measure your stone or bead at its widest point.
-
Cut Your Wire: For a basic spiral cage that will hold a medium-sized bead (approximately 12-15mm), cut about 24 inches (60cm) of wire. For smaller beads, you can use less wire, while larger stones will require more.
-
Prepare Your Work Area: Ensure you have good lighting and a comfortable space. A bead mat or towel can prevent beads and tools from rolling away.
Creating the Basic Framework
-
Find the Center of Your Wire: Fold your wire in half to locate the center point. This will be the top of your cage where the bail (the loop that holds your charm to a chain) will be formed.
-
Form the Initial Loop: Using your round-nose pliers, create a small loop at the center of your wire. This will serve as your bail.
-
Cross the Wires: Below the loop, cross the wires to form an X shape. This crossing point marks the beginning of your cage structure.
-
Create the First Vertical Elements: Bring both wire ends downward, keeping them parallel. These will form the vertical "ribs" of your cage.
Forming the Spiral Structure
-
Begin the Spiral: Take one wire end and begin wrapping it horizontally around the vertical wires. Keep your wraps evenly spaced and maintain consistent tension.
-
Continue Wrapping: Work your way down the vertical wires, creating horizontal coils. The spacing between these coils will determine how open or closed your cage appears.
-
Check Sizing: After a few coils, test if your stone or bead will fit inside the forming cage. Adjust the spacing of your wraps accordingly.
-
Complete the Base: When you've reached the desired length for your cage (typically just past the halfway point of your stone), it's time to secure the base.
Securing the Base
-
Cross the Vertical Wires: At the bottom of your cage, cross the vertical wires to begin closing the base.
-
Create a Secure Closure: Wrap one wire around the crossing point several times to secure it. This prevents your stone from falling out.
-
Trim Excess Wire: Using wire cutters, trim any excess wire, leaving a small tail that you can tuck into the cage to avoid sharp edges.
-
Optional Finishing: Use chain-nose pliers to gently tuck any sharp wire ends into the cage structure for safety and a cleaner appearance.
Inserting Your Stone
-
Open the Cage: Gently squeeze the sides of your cage to create an opening large enough to insert your stone.
-
Place Your Stone: Carefully slide your stone or bead into the cage. Position it so it sits securely within the structure.
-
Adjust if Necessary: Once your stone is in place, you may need to gently reshape your cage to ensure it holds the stone securely while showcasing it properly.
Variations and Advanced Techniques
Double Spiral Cage Charm
For a more elaborate and secure design:
-
Use two separate pieces of wire instead of one folded piece.
-
Create two separate spirals, working in opposite directions.
-
Interweave the spirals to create a more intricate cage structure.
Multi-Stone Spiral Cage
To create a cage that holds multiple smaller stones:
-
Follow the basic technique but create a longer, wider cage.
-
Insert multiple small stones that will move freely within the cage.
-
Consider adding small beads to the wire ends for additional decoration.
Decorative Embellishments
Enhance your spiral cage charms with:
-
Wire Curls: Add decorative curls to the top or bottom of your cage.
-
Beaded Accents: Thread small beads onto your wire before forming the cage.
-
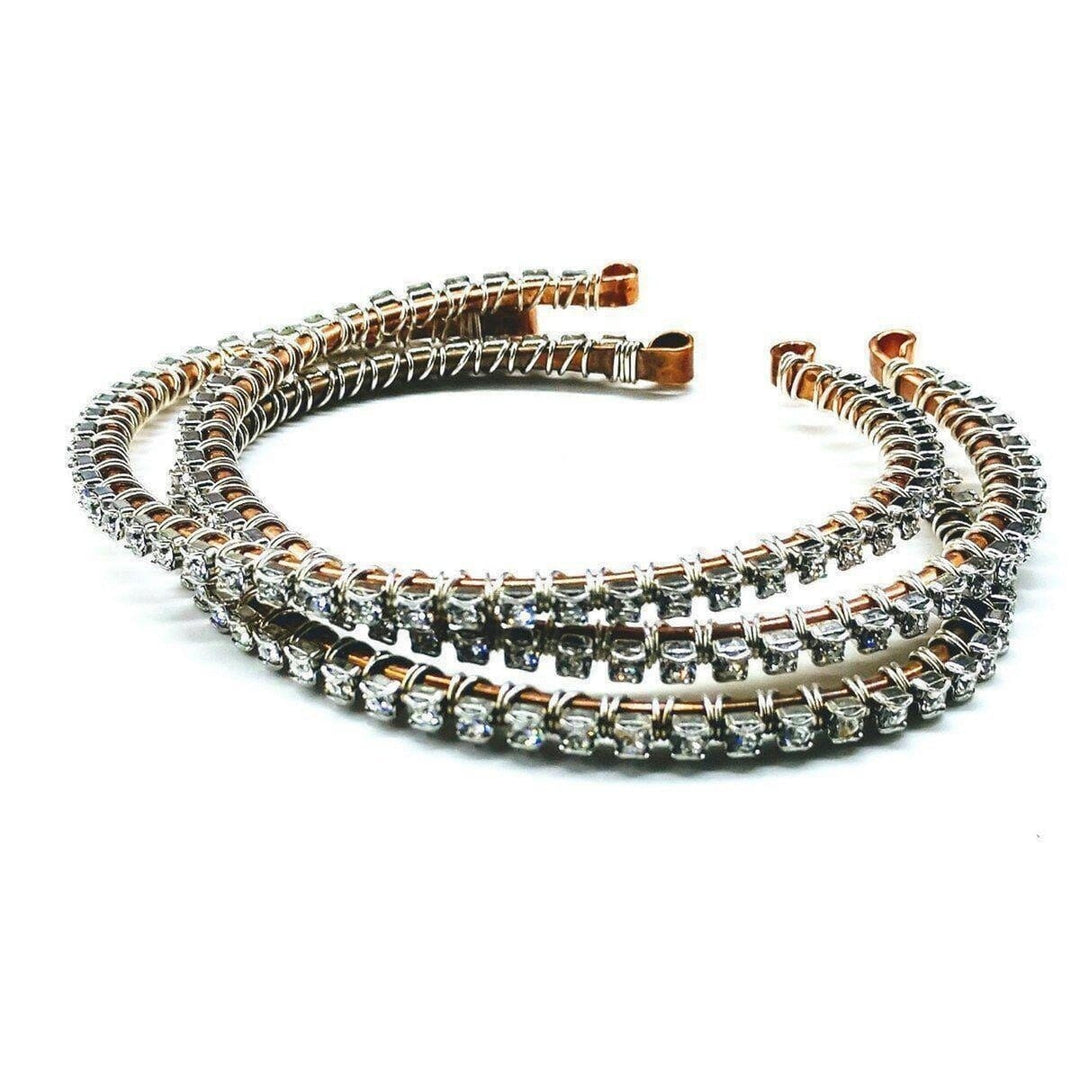
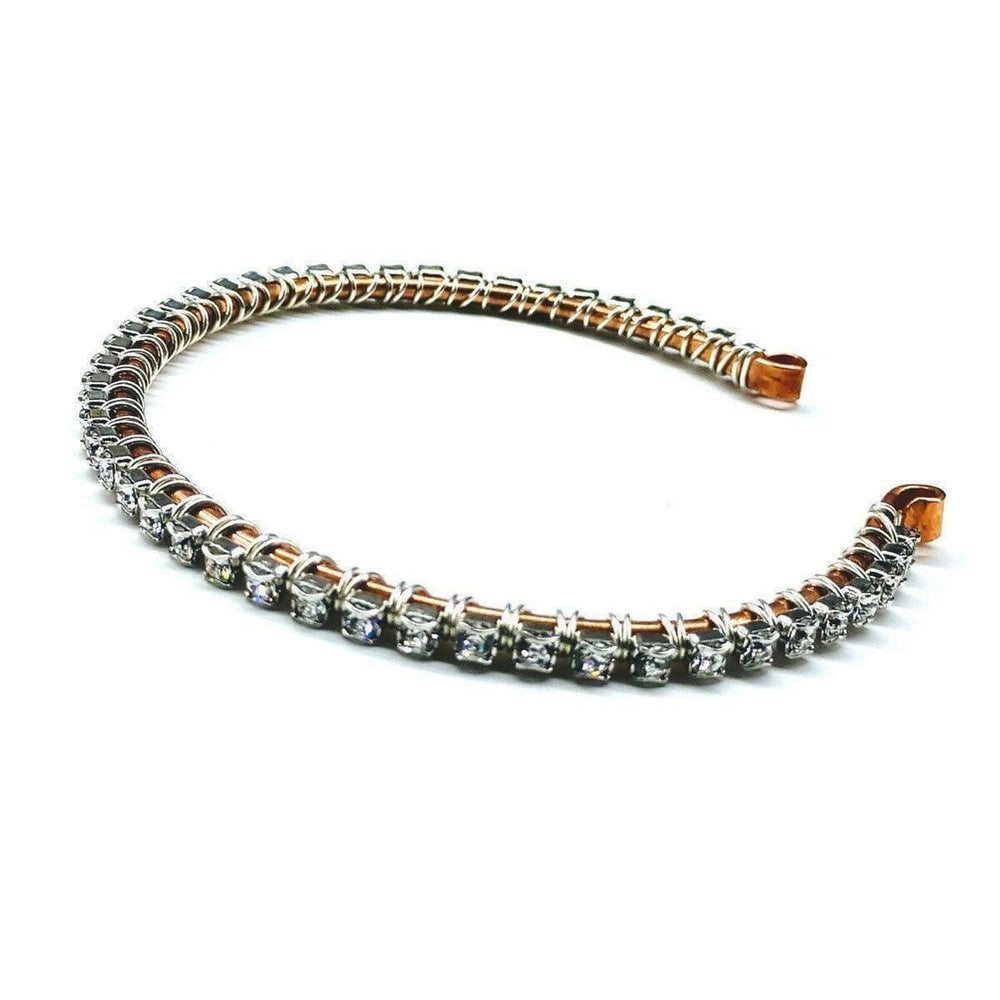
Mixed Metal Design: Combine different colored wires for a unique look.
Troubleshooting Common Issues
Problem: Cage Too Loose for Stone
Solution: If your spiral cage doesn't hold your stone securely:
-
Gently squeeze the cage to create a tighter fit
-
Add an additional wrap of wire at the bottom
-
Consider inserting a small piece of cushioning material like felt
Problem: Wire Marks Easily
Solution: If your wire shows tool marks:
-
Use nylon-jaw pliers when working with soft metals
-
Wrap masking tape around regular plier jaws
-
Handle the wire more gently, especially with sterling silver
Problem: Uneven Spirals
Solution: For more consistent spirals:
-
Use a mandrel or cylindrical object as a guide
-
Work more slowly and check your progress frequently
-
Maintain even tension throughout the wrapping process
Finishing Your Jewelry Piece
Attaching to Chains or Cords
Once your spiral cage charm is complete, you can incorporate it into various jewelry pieces:
-
For Necklaces: Thread a chain through the bail at the top of your cage.
-
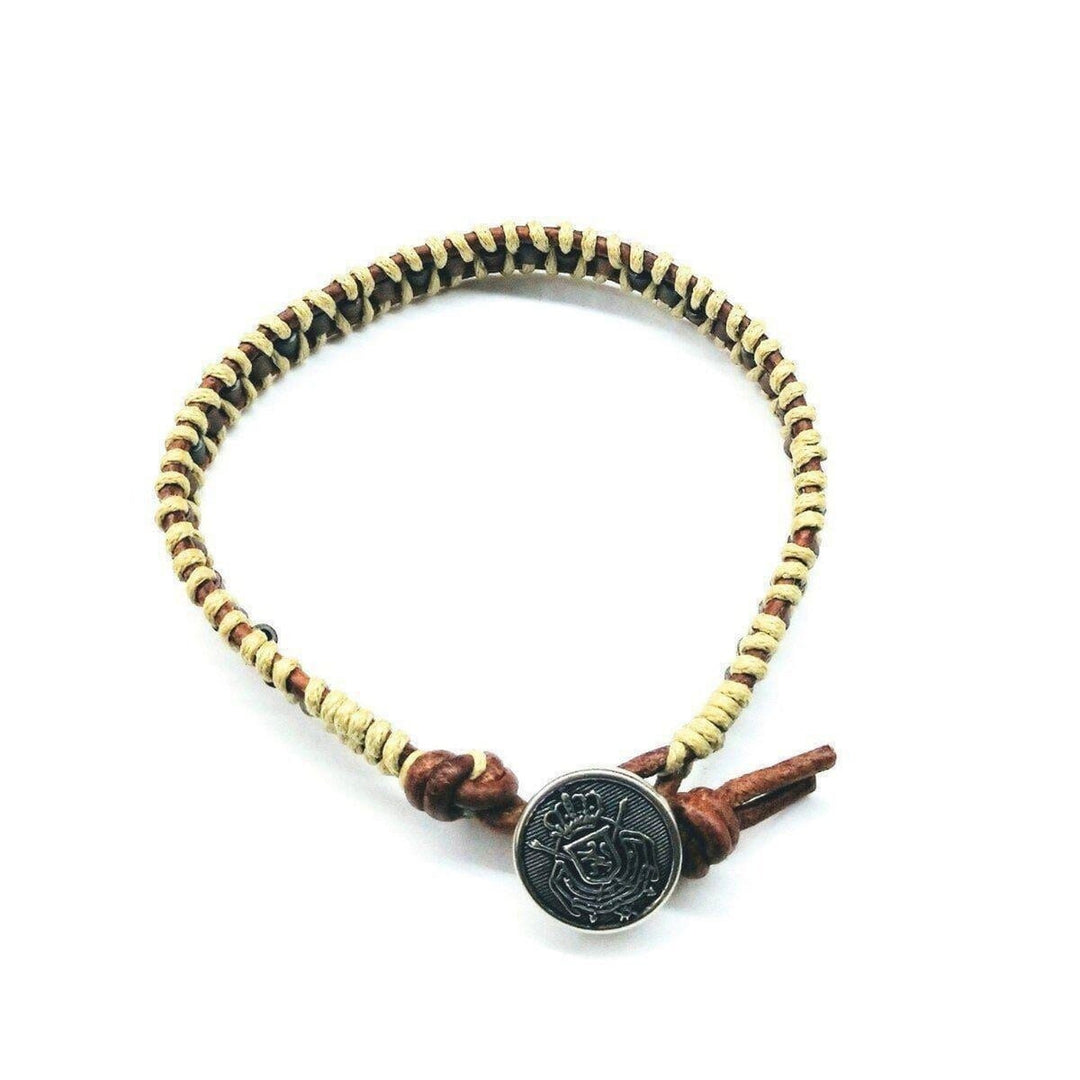
For Bracelets: Connect your charm to a bracelet using a jump ring.
-
For Earrings: Attach earring hooks directly to the top loop of smaller cages.
Complementary Elements
Enhance your spiral cage jewelry with:
-
Coordinating Beads: Add beads that complement your caged stone to the chain.
-
Multiple Charms: Create several spiral cage charms in different sizes for a graduated effect.
-
Mixed Media: Combine your wire cages with leather, ribbon, or fabric elements.

Creative Inspiration and Design Ideas
Seasonal Spiral Cage Jewelry
Customize your spiral cage charms for different seasons:
-
Spring: Cage pastel-colored stones with flower-shaped wire embellishments
-
Summer: Create beachy designs with sea glass in looser, airy cages
-
Fall: Use amber, carnelian, or other warm-toned stones in copper wire cages
-
Winter: Showcase clear quartz or blue stones in silver wire with snowflake-inspired details
Themed Collections
Build cohesive jewelry collections around themes:
-
Celestial: Star and moon shapes with labradorite or moonstone
-
Botanical: Leaf-shaped cages or floral wire embellishments
-
Geometric: Angular cage designs with precisely cut stones
-
Minimalist: Simple, clean cage designs with monochromatic stones
Caring for Your Spiral Cage Jewelry
To ensure your handmade spiral cage jewelry remains beautiful for years:
-
Storage: Store pieces separately to prevent tangling or scratching.
-
Cleaning: Clean wire gently with a soft cloth; avoid harsh chemicals.
-
Wear Considerations: Remove before swimming, showering, or applying personal products.
-
Maintenance: Periodically check that stones remain secure and wires haven't loosened.
Frequently Asked Questions
What gauge wire is best for beginners making spiral cage charms?
For beginners, 22 gauge wire offers a good balance of flexibility and strength. It's easy to manipulate while still creating sturdy cages. As you gain experience, you can experiment with different gauges to achieve various effects.
Can I make spiral cage charms without specialized jewelry tools?
While specialized jewelry tools produce the best results, you can start with household alternatives. Regular pliers can substitute for jewelry pliers (though they may mark your wire), and nail clippers can work for cutting softer wires. However, investing in basic jewelry tools will significantly improve your results.
How do I ensure my stone doesn't fall out of the cage?
Create a cage with a slightly smaller diameter than your stone's widest point. Make sure the bottom closure is secure, with multiple wraps. For extra security, you can create a slightly tighter spiral pattern at the bottom half of the cage.
What are the best stones to use for beginners?
Round or oval tumbled stones with smooth surfaces work best for beginners. They're easier to cage securely and don't have points that can catch on the wire. Glass beads are also excellent starter options as they come in consistent sizes and shapes.
How can I prevent my fingers from getting sore when working with wire?
Wire-working can be tough on your hands. Consider using ergonomic tools with cushioned handles, take frequent breaks, and use a pair of fabric gloves or finger cots to protect your skin. Soaking your hands in warm water after a wire-working session can also help relieve soreness.
Can I oxidize or patina my spiral cage charms?
Absolutely! Sterling silver can be oxidized with liver of sulfur for an antique look, while copper naturally develops a patina over time. You can accelerate copper patina using solutions like salt and vinegar or commercial patina products. Always seal treated metals with a clear protective coating to preserve the finish.
Conclusion: Your Spiral Cage Charm Journey
Creating spiral cage charms opens up a world of creative possibilities in jewelry making. With practice, this versatile technique can become one of your signature skills, allowing you to create unique, personalized pieces that showcase beautiful stones and crystals in an elegant, handcrafted setting.
Remember that wire-working is both an art and a skill—each piece you create will help you develop your technique and personal style. Don't be discouraged by initial challenges; even professional jewelry makers began as beginners. The more spiral cage charms you make, the more intuitive the process will become.
We'd love to see your creations! Share your spiral cage charm jewelry on social media and tag us for a chance to be featured in our customer gallery. And if you're looking for inspiration or professionally crafted pieces, don't forget to check out our Sterling Silver Spiral Cage Crystal Ball Necklace and other beautiful designs at Alexa Martha Designs.


Leave a comment