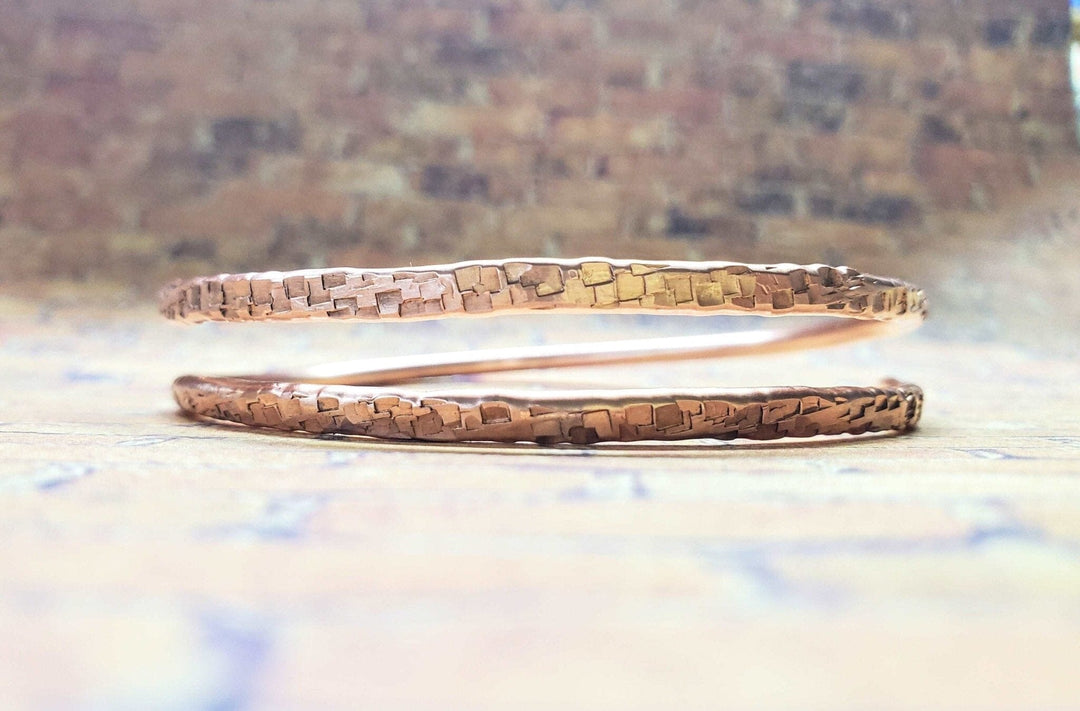
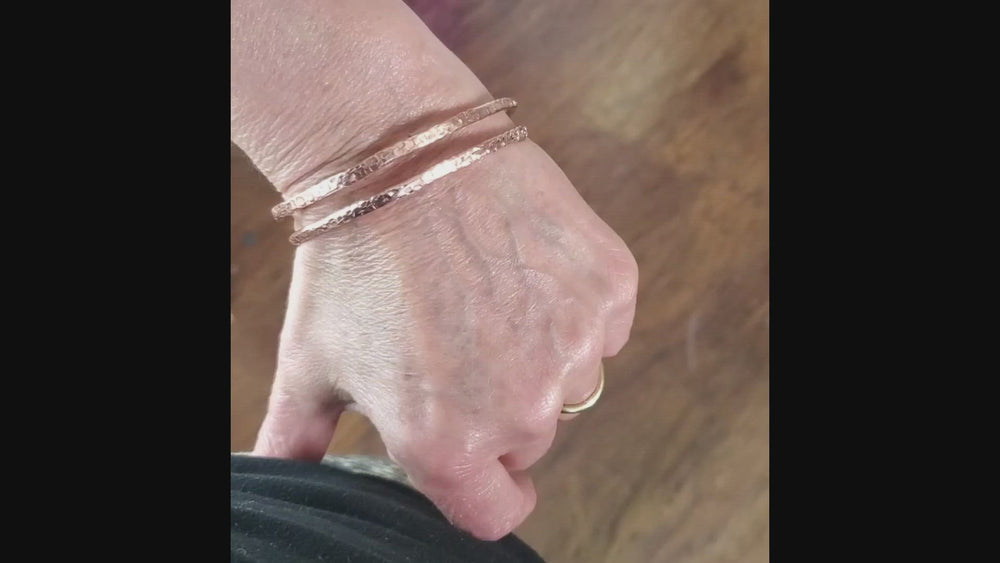
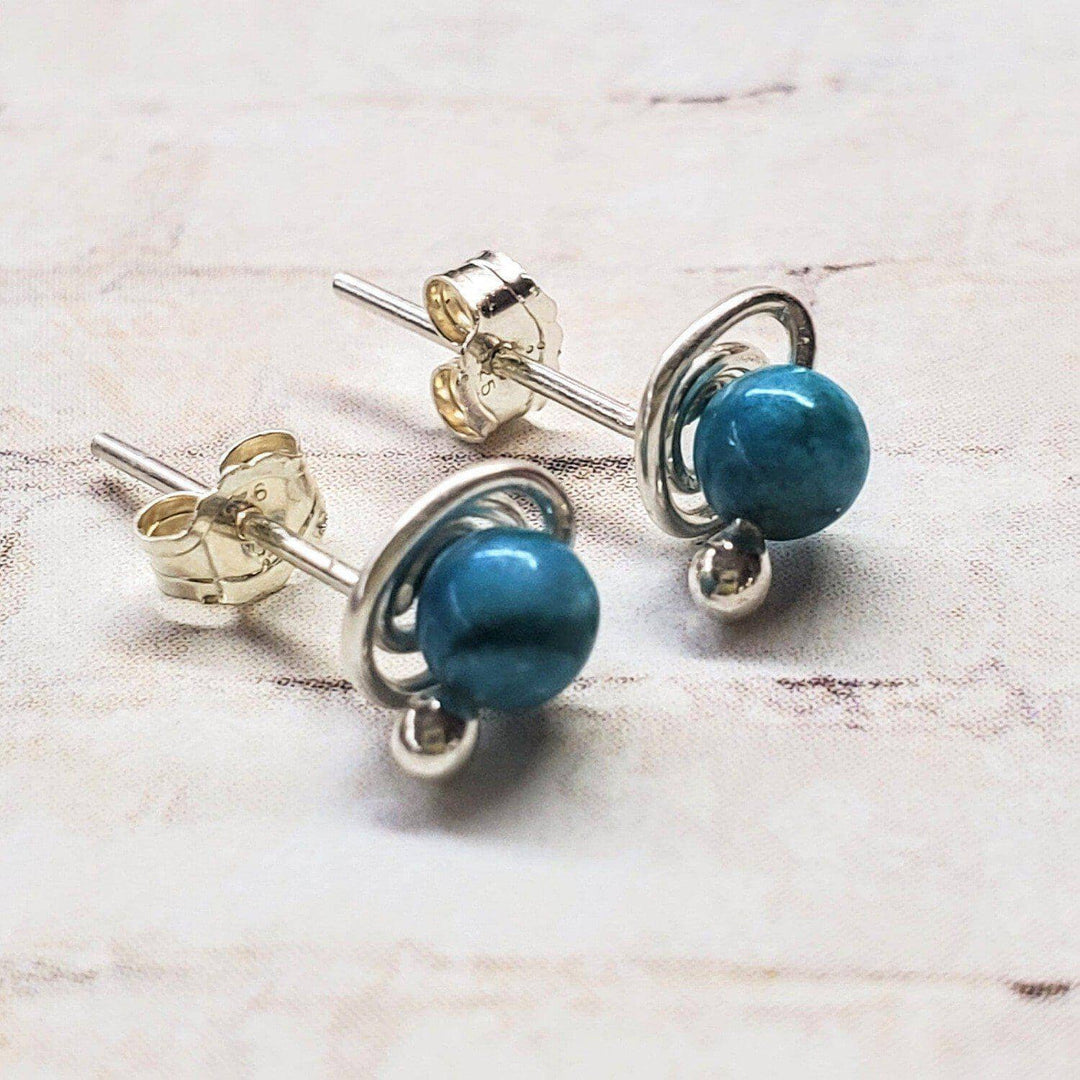
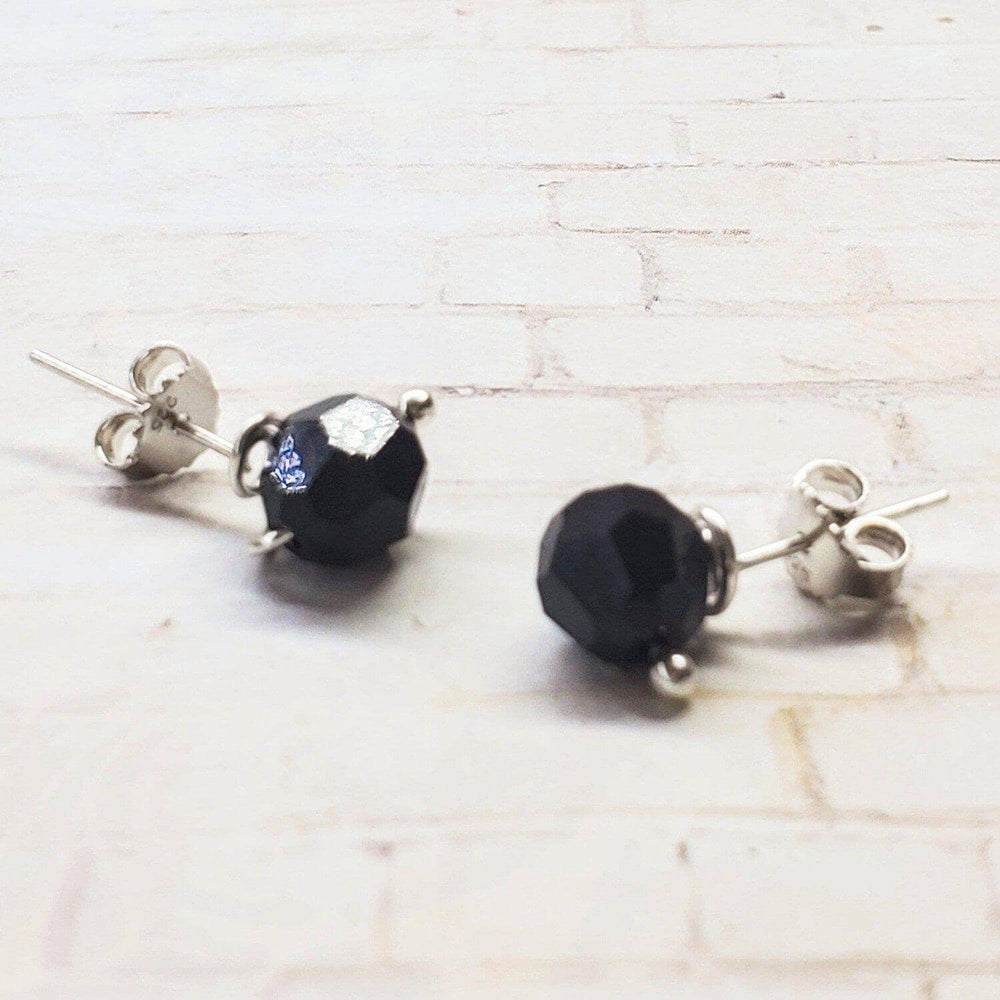
Crafting handmade jewelry holds an undeniable charm, turning bare metal into beautiful, wearable art. Among the varied materials used, copper stands out for its unique aesthetics and relatively forgiving nature, making it a favorite for DIY enthusiasts. This article explores the vibrant world of DIY hammered copper jewelry, delving into its core techniques, tools, and creative possibilities.To provide a well-rounded guide, we'll explore core techniques in copper jewelry making, examine tools and materials required, and delve into advanced practices, like hammering, soldering, and patina. Alongside this, we'll present real-world examples and insights from industry experts, ensuring you gain a comprehensive understanding of copper jewelry craftsmanship.Table of ContentsTools and Materials NeededBasic Techniques in Copper Jewelry MakingAdvanced Techniques: Hammering, Soldering, and PatinaUnderstanding the Basics of Hammered Copper Jewelry MakingHammered copper jewelry combines the timeless elegance of copper with the rustic charm of hammered textures. It is an art form rooted in history yet continually evolving with modern techniques and designs. But why copper? Known for its warm hues and exceptional workability, copper offers both beginners and seasoned artisans an opportunity to create stunning, unique pieces.The process of making hammered copper jewelry encompasses numerous techniques and skills. At its heart lies the ability to manipulate copper through hammering—an ancient technique that transforms the metal's surface, adding texture and strength. Meanwhile, employing advanced techniques like soldering and applying patina can significantly enhance the finished product, giving it that professional touch.Tools and Materials NeededEmbarking on your copper jewelry-making journey requires assembling the right set of tools and materials.Essential Tools and Materials:Copper Sheets and Wire: Available as beads, blanks, and tubing, the choice depends on your specific project.Ball Peen Hammer: Crucial for creating those distinctive hammered textures.Anvil or Bench Block: Serves as a sturdy surface for hammering.Jeweler's Saw and Files: For cutting and smoothing edges.Bracelet-Bending Pliers: To shape bangles with precision.Leather Sandbag: Helps stabilize pieces during work, absorbing impact and reducing noise.A well-curated toolkit is vital. Each tool plays a specific role—from the raw shaping to the intricate detailing stages. Investing in quality tools not only eases the process but also results in superior craftsmanship.Basic Techniques in Copper Jewelry MakingMoving beyond gathering materials, it's time to dive into the practical aspect of copper jewelry crafting. Central to this are a few foundational techniques:Hammering: The quintessential technique for creating copper jewelry. Hammering addresses not only aesthetic aspirations but also enhances structural integrity. When done correctly, the action of hammering compresses the copper, giving it a distinct, textured look and a robust feel.Cutting and Filing: Essential for shaping your copper pieces. This involves using a jeweler's saw to cut your copper to shape, followed by filing the edges for a smooth finish. A tube-cutting jig can come in handy when precision cuts are required.Forming: Beyond the simple cutting and filing, forming is the art of bending and shaping copper into desired forms, such as rings or bangles. Using the right tools, such as bracelet-bending pliers, can make this process more manageable and precise.For beginners, starting with small projects like wire hoops or hammered hearts can be a great way to grasp basic techniques before moving on to complex designs.Advanced Techniques: Hammering, Soldering, and PatinaAfter mastering the basics, you can embark on more complex techniques like soldering and applying patina—techniques that confer professional quality to your DIY projects.Soldering: This technique involves joining pieces of copper together using specialized equipment like a blowtorch. Soldering requires careful handling and practice but allows for the creation of intricate designs and secure connections in multi-piece jewelry.Applying Patina: Patina is a process of adding a colored or aged finish to copper jewelry. It brings depth and character to the metal, transforming its appearance. This method involves using chemicals to induce a reaction on the copper surface, creating a variety of color finishes, from verdant greens to deep blues.Personalizing copper jewelry can add significant value, offering uniqueness in a market that's increasingly looking for personalization. Applying patina, in particular, allows for exciting customizations, ensuring each creation is distinct.Practical Applications and Creative DirectionsCreating hammered copper jewelry is wonderfully liberating and offers vast possibilities for creative expression.Project Ideas:Copper Bangles: A timeless classic, these can be hammered and shaped to fit any wrist size.Layered Necklaces: Utilize soldering to fashion intricate designs.Statement Earrings: Experiment with textures and patina to craft eye-catching pieces.Customization Opportunities:By leveraging soldering and patina techniques, you can customize each piece to align with personal preferences, wedding styles, or even seasonal themes. This opens up opportunities for both hobbyists and entrepreneurs keen on starting a small crafting business.Historical Evolution of Copper Jewelry:Throughout history, copper has been valued for its beauty and utility. From ancient Egyptian ornaments to contemporary designs, copper jewelry has continually evolved, marrying traditional craftsmanship with modern aesthetics.Conclusion: Embrace the CraftCreating your DIY hammered copper jewelry can be both fulfilling and captivating. By understanding the essential tools and techniques—from basic hammering to advanced soldering and patina applications—you not only craft unique pieces but also engage in an age-old tradition.As you venture further into this craft, remember to absorb inspiration from everywhere and experiment fearlessly. By embracing both traditional and modern techniques, your creations will continue to surprise and delight—symbolizing not just artistry, but the personal touch that sets handcrafted jewelry apart.For those interested in diving deeper, resources such as Instructables, Rings & Things, and Alexa Martha Designs provide valuable insights, tutorials, and materials to guide your journey. So, gather your tools, spark your creative genius, and let the transformative power of these techniques elevate your craftsmanship and creativity to new heights.
Crafting handmade jewelry holds an undeniable charm, turning bare metal into beautiful, wearable art. Among the varied materials used, copper stands out for its unique aesthetics and relatively forgiving nature, making it a favorite for DIY enthusiasts. This article explores the vibrant world of DIY hammered copper jewelry, delving into its core techniques, tools, and creative possibilities. To provide a well-rounded guide, we'll explore core techniques in copper jewelry making, examine tools and materials required, and delve into advanced practices, like hammering, soldering, and patina. Alongside this, we'll present real-world examples and insights from industry experts, ensuring you gain a comprehensive understanding of copper jewelry craftsmanship. Table of Contents Tools and Materials Needed Basic Techniques in Copper Jewelry Making Advanced Techniques: Hammering, Soldering, and Patina Understanding the Basics of Hammered Copper Jewelry Making Hammered copper jewelry combines the timeless elegance of copper with the rustic charm of hammered textures. It is an art form rooted in history yet continually evolving with modern techniques and designs. But why copper? Known for its warm hues and exceptional workability, copper offers both beginners and seasoned artisans an opportunity to create stunning, unique pieces. The process of making hammered copper jewelry encompasses numerous techniques and skills. At its heart lies the ability to manipulate copper through hammering—an ancient technique that transforms the metal's surface, adding texture and strength. Meanwhile, employing advanced techniques like soldering and applying patina can significantly enhance the finished product, giving it that professional touch. Tools and Materials Needed Embarking on your copper jewelry-making journey requires assembling the right set of tools and materials. Essential Tools and Materials: Copper Sheets and Wire: Available as beads, blanks, and tubing, the choice depends on your specific project. Ball Peen Hammer: Crucial for creating those distinctive hammered textures. Anvil or Bench Block: Serves as a sturdy surface for hammering. Jeweler's Saw and Files: For cutting and smoothing edges. Bracelet-Bending Pliers: To shape bangles with precision. Leather Sandbag: Helps stabilize pieces during work, absorbing impact and reducing noise. A well-curated toolkit is vital. Each tool plays a specific role—from the raw shaping to the intricate detailing stages. Investing in quality tools not only eases the process but also results in superior craftsmanship. Basic Techniques in Copper Jewelry Making Moving beyond gathering materials, it's time to dive into the practical aspect of copper jewelry crafting. Central to this are a few foundational techniques: Hammering: The quintessential technique for creating copper jewelry. Hammering addresses not only aesthetic aspirations but also enhances structural integrity. When done correctly, the action of hammering compresses the copper, giving it a distinct, textured look and a robust feel. Cutting and Filing: Essential for shaping your copper pieces. This involves using a jeweler's saw to cut your copper to shape, followed by filing the edges for a smooth finish. A tube-cutting jig can come in handy when precision cuts are required. Forming: Beyond the simple cutting and filing, forming is the art of bending and shaping copper into desired forms, such as rings or bangles. Using the right tools, such as bracelet-bending pliers, can make this process more manageable and precise. For beginners, starting with small projects like wire hoops or hammered hearts can be a great way to grasp basic techniques before moving on to complex designs. Advanced Techniques: Hammering, Soldering, and Patina After mastering the basics, you can embark on more complex techniques like soldering and applying patina—techniques that confer professional quality to your DIY projects. Soldering: This technique involves joining pieces of copper together using specialized equipment like a blowtorch. Soldering requires careful handling and practice but allows for the creation of intricate designs and secure connections in multi-piece jewelry. Applying Patina: Patina is a process of adding a colored or aged finish to copper jewelry. It brings depth and character to the metal, transforming its appearance. This method involves using chemicals to induce a reaction on the copper surface, creating a variety of color finishes, from verdant greens to deep blues. Personalizing copper jewelry can add significant value, offering uniqueness in a market that's increasingly looking for personalization. Applying patina, in particular, allows for exciting customizations, ensuring each creation is distinct. Practical Applications and Creative Directions Creating hammered copper jewelry is wonderfully liberating and offers vast possibilities for creative expression. Project Ideas: Copper Bangles: A timeless classic, these can be hammered and shaped to fit any wrist size. Layered Necklaces: Utilize soldering to fashion intricate designs. Statement Earrings: Experiment with textures and patina to craft eye-catching pieces. Customization Opportunities: By leveraging soldering and patina techniques, you can customize each piece to align with personal preferences, wedding styles, or even seasonal themes. This opens up opportunities for both hobbyists and entrepreneurs keen on starting a small crafting business. Historical Evolution of Copper Jewelry: Throughout history, copper has been valued for its beauty and utility. From ancient Egyptian ornaments to contemporary designs, copper jewelry has continually evolved, marrying traditional craftsmanship with modern aesthetics. Conclusion: Embrace the Craft Creating your DIY hammered copper jewelry can be both fulfilling and captivating. By understanding the essential tools and techniques—from basic hammering to advanced soldering and patina applications—you not only craft unique pieces but also engage in an age-old tradition. As you venture further into this craft, remember to absorb inspiration from everywhere and experiment fearlessly. By embracing both traditional and modern techniques, your creations will continue to surprise and delight—symbolizing not just artistry, but the personal touch that sets handcrafted jewelry apart. For those interested in diving deeper, resources such as Instructables, Rings & Things, and Alexa Martha Designs provide valuable insights, tutorials, and materials to guide your journey. So, gather your tools, spark your creative genius, and let the transformative power of these techniques elevate your craftsmanship and creativity to new heights.
Leave a comment