

Wire jewelry making combines artistic expression with technical skill, resulting in everything from delicate earrings to statement necklaces. If you've admired handcrafted wire jewelry and wondered what you need to create your own pieces, this comprehensive guide will walk you through every essential tool, material, and technique to get started. Wire jewelry is particularly appealing because you can begin with minimal supplies and gradually expand your toolkit as your skills and interests develop.
Understanding Jewelry Wire: The Foundation of Your Craft
Before we dive into tools, let's understand the fundamental material of wire jewelry making: the wire itself. The wire you choose dramatically affects both the process of creation and the finished piece.
Wire Materials: What Options Do You Have?
Different metals offer various properties, appearances, and price points:
Copper Wire: An excellent starting material because it's affordable, malleable, and comes in a range of beautiful colors from raw copper to antiqued finishes. Copper is forgiving for beginners and allows you to practice techniques without significant financial investment. It's also hypoallergenic for most people, though it can oxidize over time, creating a patina that some artists intentionally cultivate. Copper has been proven now to have many health benefits, even while working with the material. Alexa Martha, the designer, metal smith and owner of Alexa Martha Designs says so herself, that it actually, eased her joint pain of arthritis and strengthend her hands while working and sculpting with 8,6 and 4 gauge heavy-duty metals into bestselling bangles.
Here shown is a picture of these bangles - Hand Sculpted 8 Gauge Copper Hammer Textured Overlap Bangle

Sterling Silver Wire: Composed of 92.5% silver and 7.5% other metals (usually copper), sterling silver creates professional-looking, higher-value pieces. While more expensive than copper, its lustrous appearance makes it worthwhile for finished jewelry you plan to sell or gift. Sterling requires proper finishing to prevent tarnishing.
Hand Sculpted Sterling Silver Teardrop Bangle

Gold-Filled Wire: A quality alternative to solid gold, gold-filled wire consists of a thick layer of gold bonded to a base metal core. Unlike gold-plated wire, which has a microscopically thin layer that quickly wears off, gold-filled wire maintains its appearance for years and resists tarnishing. It offers the look of gold at a fraction of the price of solid gold wire.
Brass and Bronze Wire: These affordable copper alloys offer warm golden hues and excellent workability. They're perfect for creating vintage-looking pieces and practicing techniques before working with more expensive materials.
Aluminum Wire: Extremely lightweight and highly malleable, aluminum wire is perfect for oversized pieces that would be too heavy in other metals. It comes in a rainbow of colors and is very inexpensive, making it ideal for experimenting with complex designs or for beginning wire artists.
Artistic Wire: This craft-specific product comes in various metals with colorful coatings. It's perfect for adding pops of color to your work and for learning techniques without investing in precious metals.
Wire Gauge: Understanding Thickness

Wire gauge refers to the thickness of the wire, with higher numbers indicating thinner wire:
-
18-20 gauge: Medium thickness, versatile for most projects including frameworks, clasps, and wrapped loops
-
21-24 gauge: Thinner wire perfect for wire wrapping, creating delicate details, and wrapping smaller beads
-
26-30 gauge: Very thin wire used primarily for fine wire wrapping, coiling around thicker wire, and creating intricate details
-
14-16 gauge: Thick, sturdy wire ideal for bangles, cuff bracelets, and structural elements
As a beginner, I recommend starting with 20 and 24 gauge wires, which offer versatility for most basic techniques while remaining relatively easy to manipulate.
Wire Hardness: The Manipulation Factor
Wire comes in different hardness levels, which affect how easily it bends and how well it holds its shape:
-
Dead Soft: Extremely pliable and easy to bend, but doesn't hold shape well and work-hardens quickly
-
Half-Hard: A good middle ground that offers workability while maintaining structural integrity
-
Full-Hard: Difficult to bend but excellent for maintaining precise shapes; primarily used for structural components
For beginners, dead soft or half-hard wire provides the best balance of workability and structural integrity.
Essential Wire Jewelry Tools: Your Basic Toolkit


Now that we understand the wire itself, let's explore the tools you'll need to transform it into beautiful jewelry.
Cutting Tools: Making Clean Cuts
Flush Cutters: Perhaps the most important tool in wire jewelry making, flush cutters create clean, flat cuts without the pinched ends that regular scissors or wire cutters leave. Look for jewelry-specific flush cutters with cushioned handles to reduce hand fatigue. The cutting edge should be slightly curved and made of hardened steel to maintain sharpness even when cutting harder wires.
Memory Wire Shears: If you plan to work with memory wire (a specialized type of wire that retains a circular shape), you'll need dedicated shears designed for this extremely hard wire. Using regular flush cutters on memory wire will damage them permanently.
Pliers: Your Hands' Extensions
Round-Nose Pliers: These have tapered, conical jaws that narrow to a point, allowing you to create loops of various sizes. The farther up the jaws you place the wire, the larger the loop. These pliers are essential for making consistent jump rings, eye pins, and decorative loops.
Chain-Nose Pliers: With flat, smooth inner jaws that taper to a point, these pliers are perhaps the most versatile in wire jewelry. They allow for precise gripping, bending, and manipulating wire. The flat surface helps create clean angles and smooth bends without marring the wire surface.
Flat-Nose Pliers: Similar to chain-nose pliers but with completely flat, rectangular jaws, these pliers are perfect for making sharp angles and holding broader sections of wire. They provide maximum surface contact, which is particularly useful when you need to firmly grip wire without damaging it.
Bent-Nose Pliers: These have jaws similar to chain-nose pliers but with a 45-degree bend, allowing you to reach into tight spaces. While not essential for beginners, they become invaluable as you advance to more complex designs.
Nylon-Jaw Pliers: Regular pliers can leave marks on soft metals like silver and gold. Nylon-jaw pliers have plastic-coated jaws that grip wire without marring the surface, making them ideal for final adjustments on finished pieces.
Forming Tools: Creating Shapes and Structures
Mandrels: These cylindrical tools allow you to create consistently sized rings, loops, and curved components. Ring mandrels are tapered and marked with ring sizes, while step mandrels offer different diameters for creating various sized loops.
Bail-Making Pliers: These specialized pliers have cylindrical, stepped jaws specifically designed for creating wire bails (the component that attaches a pendant to a necklace). They allow you to make consistent, professional-looking bails with minimal effort.
Wire Jig: A board with metal pegs that can be arranged in different configurations to help you bend wire into consistent shapes. Perfect for creating multiple identical components or complex geometric designs.
Finishing Tools: Refining Your Work
Jeweler's Files: Set of small files in various shapes used to remove burrs from cut wire ends and smooth rough edges. A set with flat, round, and half-round files covers most needs.
Polishing Cloth: Specially treated fabric that removes tarnish and adds shine to your finished pieces without scratching the metal surface.
Steel Bench Block: A flat, hardened steel surface used as a base for hammering and work-hardening wire. The solid surface allows for controlled hammering without damaging your work or workspace.
Chasing Hammer: Has a flat face for texturing and flattening wire, and a ball-peen end for creating dots and dimples. This versatile hammer allows you to work-harden wire while adding decorative textures.
Nylon or Rawhide Mallet: For shaping wire without leaving hammer marks, these softer mallets allow you to form wire while preserving its surface finish.
Additional Materials: Beyond the Wire
While wire forms the foundation of your jewelry, you'll need additional components to complete most pieces:
Findings: The Connectors and Closures
Findings are the functional components that help assemble jewelry pieces:
-
Jump Rings: Small metal rings used to connect components
-
Ear Wires: The portion of earrings that goes through the ear
-
Clasps: Mechanisms that allow necklaces and bracelets to open and close
-
Head Pins and Eye Pins: Straight pieces of wire with either a flat end or loop used to string beads
-
Bead Caps: Decorative elements that cover the ends of beads
-
Crimp Beads: Tiny metal tubes used to secure beaded wire designs
While you can make many of these findings yourself from wire (and will likely do so as you advance), purchasing them initially saves time and helps you understand professional construction.
Beads and Stones: Adding Color and Texture
The selection of beads and stones available is virtually limitless:
-
Glass Beads: Affordable and available in countless colors, shapes, and finishes
-
Gemstone Beads: Natural stones that add value and unique character to your pieces
-
Metal Beads: Complement wire work and add weight and texture
-
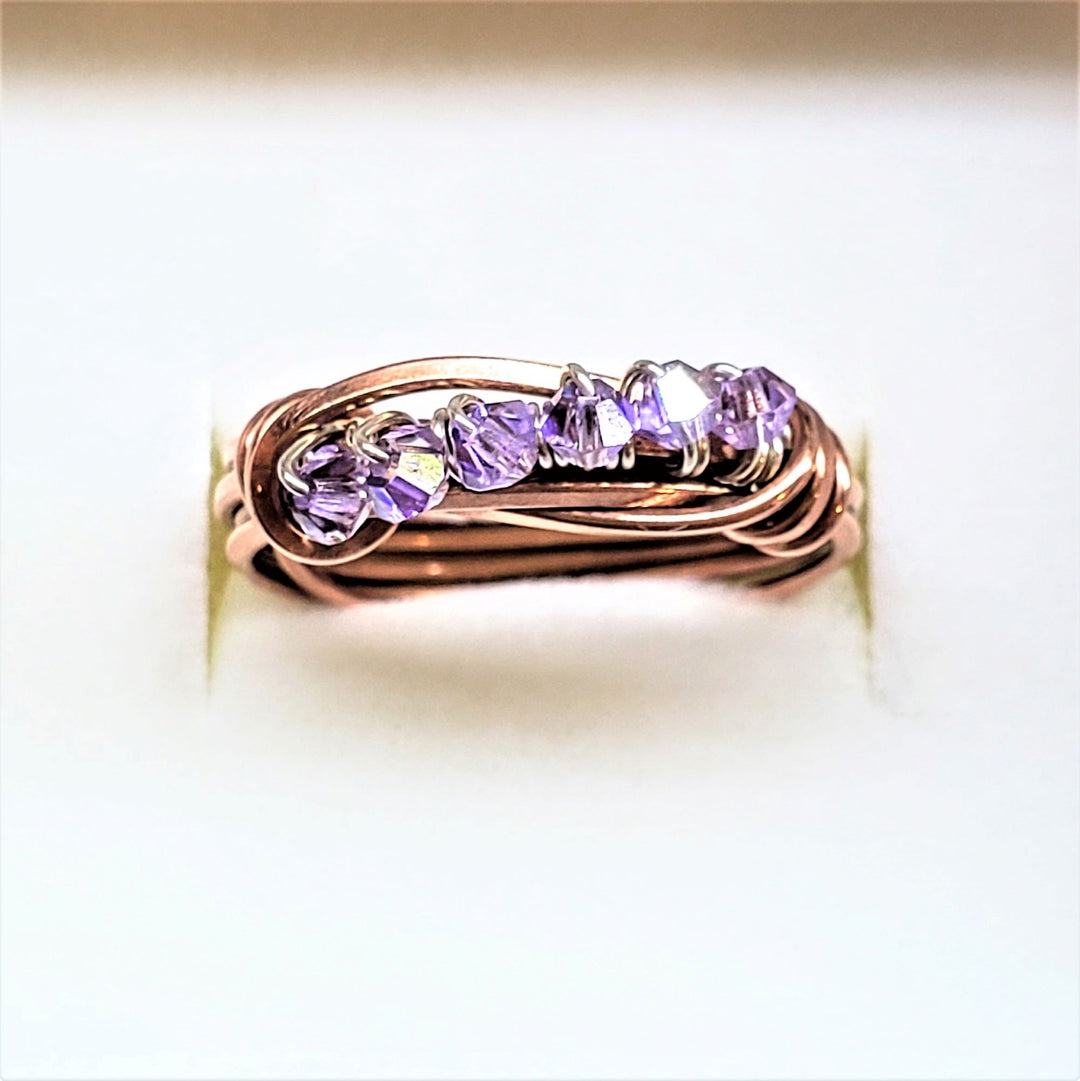
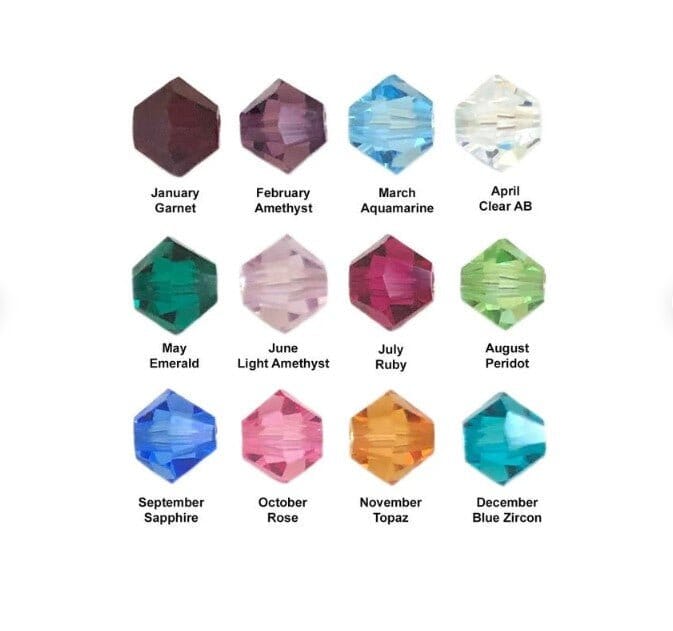
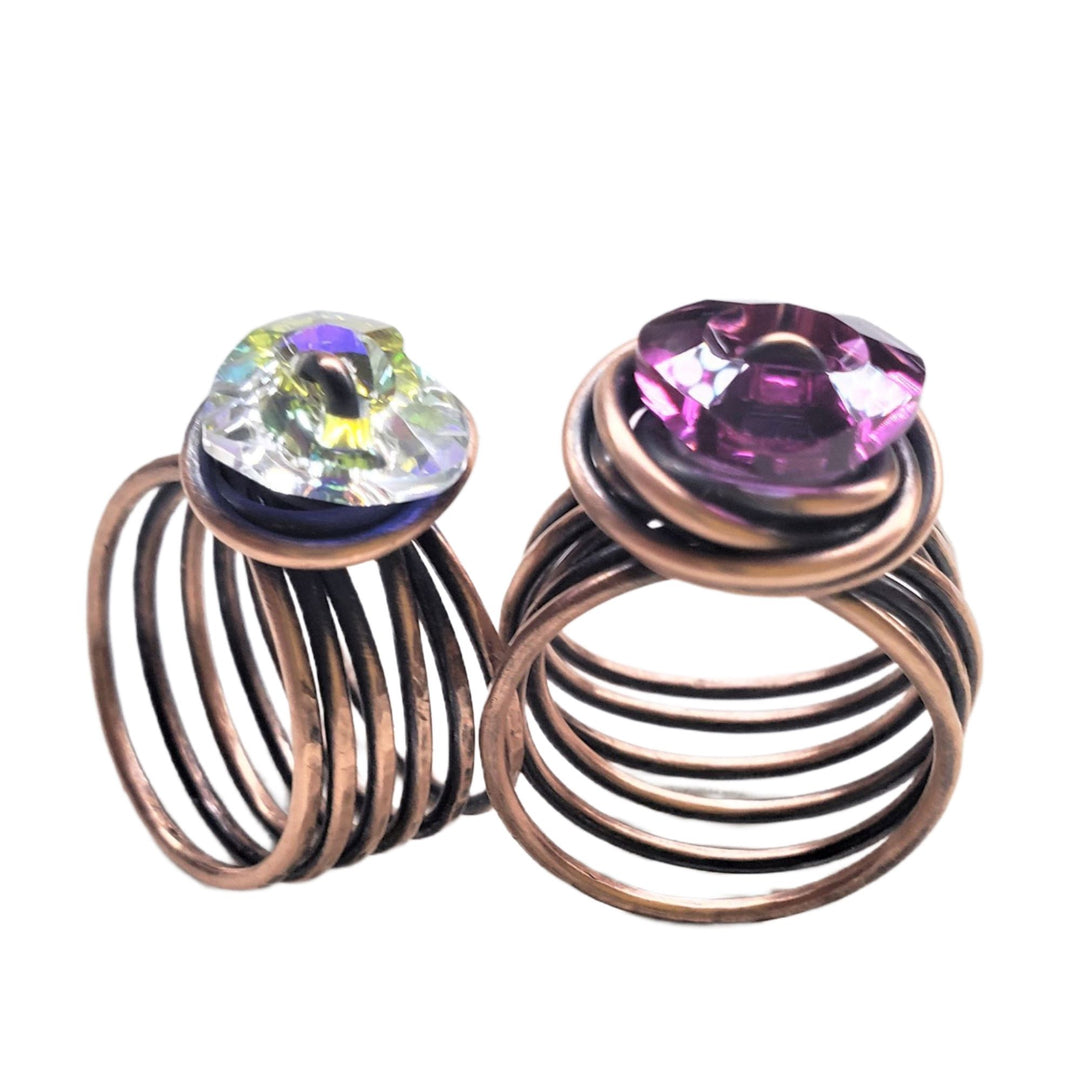
Crystals: Create sparkle and light reflection
-
Pearls: Add classic elegance to wire designs
Start with a small selection of beads that inspire you and complement your wire color choices. As you develop your style, you'll naturally build your collection.
Cords and Stringing Materials

These materials complement wire work in many designs:
-
Beading Wire: Flexible, nylon-coated stainless steel wire for stringing beads
-
Memory Wire: Pre-coiled spring steel wire that maintains its shape
-
Leather or Suede Cord: Adds a natural element to wire-wrapped pendants
-
Silk or Cotton Thread: For more delicate beading and wire combination pieces
Protective and Finishing Materials
These products help maintain the beauty of your wire jewelry:
-
Anti-Tarnish Solutions: Liquid products that delay oxidation of silver and copper
-
Renaissance Wax: A microcrystalline wax that protects metal surfaces
-
Liver of Sulfur: Creates intentional patina on silver and copper
-
Wire Guardians: Small protective components that prevent wire from fraying at stress points
Setting Up Your Workspace: Creating an Efficient Environment
A well-organized workspace enhances productivity and creativity:
Basic Workspace Requirements
-
Good Lighting: Natural daylight is ideal, but a combination of overhead and direct task lighting helps you see fine details
-
Comfortable Seating: A chair at the proper height prevents back and neck strain during long creating sessions
-
Sturdy Work Surface: A dedicated table or desk that doesn't wobble or flex when you're applying pressure
-
Storage Solutions: Small containers for organizing beads, findings, and wire by type and gauge
-
Bead Mat or Towel: Prevents beads and components from rolling away and protects tools and wire from scratching your work surface
-
Magnification: A magnifying lamp or jeweler's loupe helps with detailed work and inspecting finished pieces

Safety Considerations
-
Eye Protection: Wear safety glasses when cutting wire to prevent eye injury from flying pieces
-
Proper Ventilation: If using chemical patinas or polishing compounds
-
First Aid Kit: Keep band-aids nearby for inevitable minor cuts and pokes
-
Proper Disposal Container: For sharp wire scraps and potentially harmful materials
Basic Wire Techniques to Master
Once you have your supplies, these foundational techniques will form the basis of almost all wire jewelry projects:
Basic Loops
Creating consistent loops is fundamental to wire jewelry. Practice making loops of various sizes using your round-nose pliers. Position the wire at different points along the tapered jaws to create different sized loops.
Wrapped Loops
This secure connection technique involves wrapping wire around itself to create a stable join between components. Master this technique to create professional-looking connections that won't pull apart.

Jump Rings
Learning to make and properly open/close jump rings is essential. Always open jump rings by moving the ends sideways (never pulling them apart), which prevents distortion and allows for proper closure.
Simple Wire Wrapping
Practice wrapping thin gauge wire around thicker gauge wire, maintaining even tension and spacing. This decorative and functional technique secures components and creates visual interest.
Wire Spirals
Create flat or three-dimensional spirals by coiling wire around itself or a mandrel. Spirals add visual interest and can serve as decorative components or functional elements like bead cages.
Where to Purchase Wire Jewelry Supplies
Quality materials and tools make a significant difference in both the creation process and finished pieces:

Online Retailers
-
Fire Mountain Gems: Comprehensive selection of jewelry-making supplies
-
Rio Grande: Professional-quality tools and materials (especially good for precious metals)
-
Beaducation: Tools, materials, and excellent tutorial videos
-
Etsy: Unique findings and supplies from independent sellers
Brick-and-Mortar Options
-
Local Bead Stores: Offer personalized advice and the ability to see materials in person
-
Craft Chain Stores: Michael's, Joann Fabrics, and Hobby Lobby carry basic wire jewelry supplies
-
Art Supply Stores: Often carry wire and basic jewelry tools
Budget-Friendly Options
-
Wholesale Suppliers: Consider joining with other crafters to meet minimum order requirements
-
Repurposed Materials: Old jewelry can be disassembled for parts and materials
-
Craft Fairs: Often feature vendors selling supplies at competitive prices
Building Your Skills: Resources for Learning
As you gather supplies, also collect learning resources:
-
Books: Look for titles specifically focused on wire jewelry techniques
-
Online Tutorials: YouTube offers countless free wire jewelry tutorials for all skill levels
-
Classes: Many bead stores and community centers offer in-person workshops
-
Online Courses: Platforms like Craftsy and Udemy offer structured wire jewelry courses
-
Wire Jewelry Communities: Facebook groups and forums provide support and inspiration
Starting Your Wire Jewelry Journey: A Suggested Approach
Rather than purchasing everything at once, consider this strategic approach:
-
Begin with basics: 20-gauge copper wire, round-nose pliers, chain-nose pliers, and flush cutters
-
Master fundamental techniques: Practice making loops, wrapped loops, and simple shapes
-
Create simple projects: Earrings and basic pendants require minimal materials
-
Add tools and materials gradually: Expand your collection as specific projects require new items
-
Invest in quality for frequently used tools: Better tools last longer and create less frustration
Conclusion: The Joy of Creating Wire Jewelry
Wire jewelry making offers a perfect balance of structure and creativity. With just a few tools and some basic wire, you can begin creating wearable art that expresses your personal style. As you progress, you'll develop techniques unique to your aesthetic and discover which aspects of wire work particularly inspire you.
Remember that every wire artist began as a beginner. Be patient with yourself, embrace the learning process, and enjoy the satisfaction of transforming simple wire into beautiful, wearable art. The supplies listed in this guide provide a solid foundation, but your most valuable tools will always be patience, practice, and creative curiosity.
Whether you aspire to create jewelry for personal enjoyment, gifts for loved ones, or even to sell professionally, the journey begins with these fundamental supplies and a willingness to experiment. Your wire jewelry toolkit will grow organically as your skills develop, ultimately reflecting your individual artistic voice. Check out handmade jewelry designed and made by a featured wire sculpting artist from Montana


Leave a comment