


How to Make Wire Rings: A Complete Step-by-Step Tutorial
Wire rings are one of the most accessible and versatile jewelry-making projects for both beginners and experienced crafters. With just a few tools and materials, you can make beautiful, functional and customized rings. All things in the beginning take practice, but in about 30 min you can make a ring that’s ready to sell. This comprehensive guide will walk you through everything you need to know about making wire rings, from basic techniques to more advanced designs. We will post some of my designs as examples, but not to copy. Alexa Martha from Alexa Martha Designs also teaches wire sculpting on her website. She may be contacted for a new ring tutorial.
Materials and Tools You'll Need
Before diving into the wire ring-making process, gather these essential supplies:
Basic Materials:
-
Jewelry wire (recommended core gauges: 20 and 18 guage (for beginners)
-
Different wire types:
-
Copper wire: Affordable, soft and easy to work with
-
Sterling silver wire: More expensive but tarnish-resistant
-
Aluminum wire: Lightweight and comes in many colors
-
Note: Aluminum is not typically favored in jewelry making due to its reactivity, lack of luster, and relatively low strength, making it less durable for everyday wear. While aluminum is lightweight and resists tarnishing, its tendency to tarnish when exposed to air and its inability to be readily soldered (requiring specialized equipment) are drawbacks for many jewelry designers.
-
Craft wire: Coated copper wire available in various colors
Essential Tools:
-
Round-nose pliers: For creating loops and curves
-
Flat-nose pliers: For gripping and bending wire
-
Wire cutters: For cutting wire cleanly
-
Ring mandrel: For sizing and shaping rings
-
Rawhide or rubber mallet: For shaping wire around the mandrel
-
Ruler or measuring tape: For measuring wire lengths
-
File: For smoothing rough wire ends
-
Steel Block: For flattening ring bangs
Understanding Wire Gauge
The term "gauge" refers to the thickness of the wire - the higher the number, the thinner the wire:
-
12-14 gauge: Sturdy, ideal for ring bands and statement pieces
-
18-20 gauge: More flexible, perfect for delicate designs and wire wrapping
-
24-26 gauge: Excellent, Wrapping wire best for intricate detailing and wire wrapping
-
28-32 gauge: Very thin, good metal weaving wire
For beginners, 18-20 gauge wire offers a good balance between durability and workability.
Basic Wire Ring Tutorial: Simple Band Ring
Let's start with a basic wire ring that's perfect for beginners:
Step 1: Measure Your Ring Size
-
Use a ring sizer or measure a ring that fits you
-
Mark the corresponding size on your ring mandrel
Step 2: Calculate Wire Length
-
For a basic band, you'll need approximately 3 inches of wire for each ring size
-
Add an extra inch to allow for adjustments and finishing techniques
-
For a size 7 ring, cut approximately 4 inches of wire
Step 3: Cut the Wire
-
Using wire cutters, cut your chosen length of wire
-
Cut at a straight angle for a cleaner finish
Step 4: File the Ends
-
Gently file both ends of the wire to remove any sharp edges
-
This ensures your finished ring won't scratch or snag
Step 5: Shape the Basic Band
-
Hold the middle of the wire against the mandrel at your desired size
-
Wrap both ends around the mandrel, crossing them at the bottom
-
Use your fingers to shape the wire around the mandrel
-
Gently tap with a rawhide mallet to ensure the wire conforms to the mandrel
Step 6: Secure the Ends
-
Cross the wire ends at the bottom of the ring
-
Use round-nose pliers to wrap one end around the other
-
Continue wrapping until you've used up the excess wire
-
Trim any remaining wire and tuck in the end with flat-nose pliers
Step 7: Adjust and Polish
-
Check the ring size by sliding it up and down the mandrel
-
Make minor adjustments with your pliers if needed
-
Use a polishing cloth to shine your finished ring
-
Take for example Crystal Embedded Wrap Around Ring

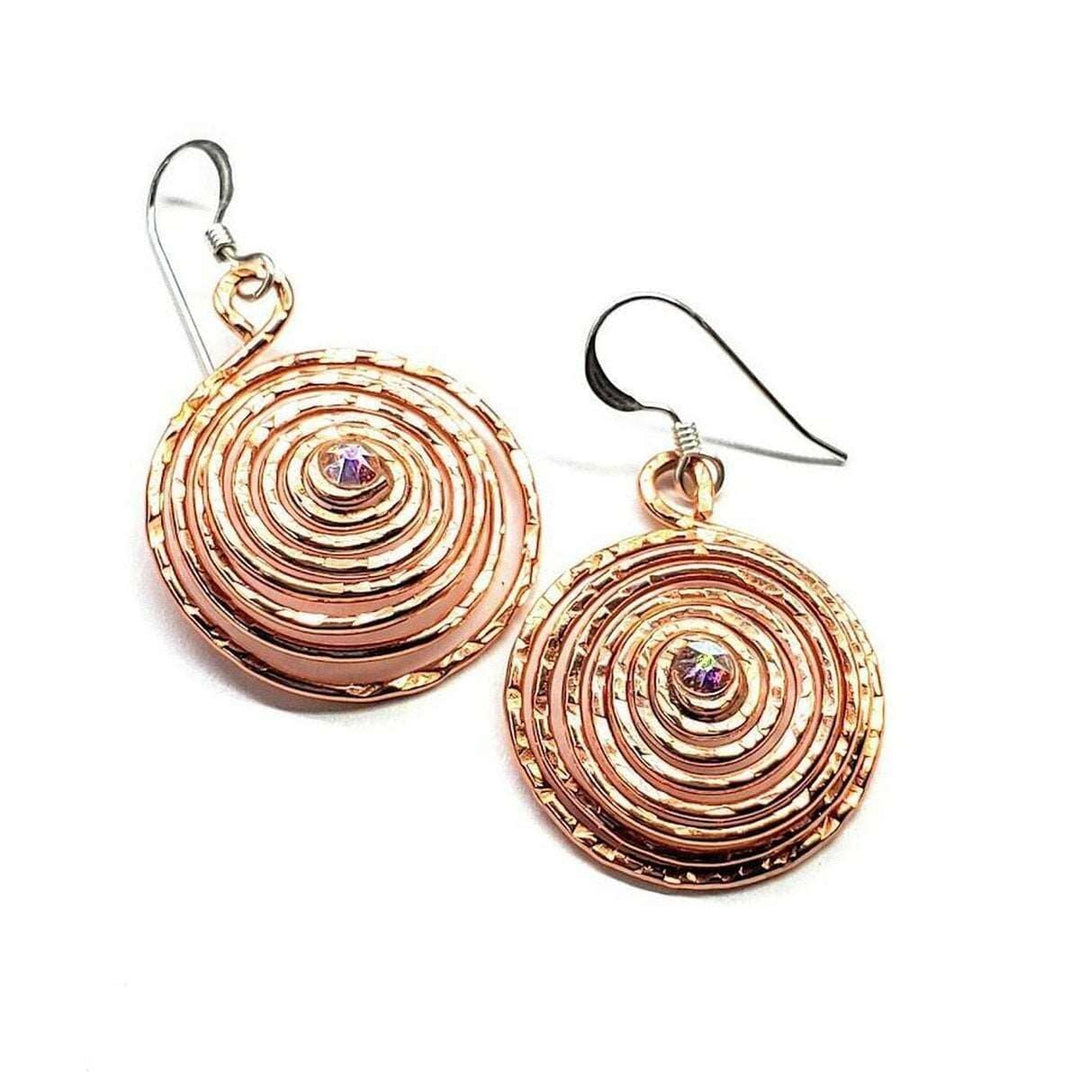
Intermediate Design: Spiral Wire Ring
Once you've mastered the basic band, try this elegant spiral design:
Step 1: Prepare Your Wire
-
Cut 6-7 inches of wire (more for larger ring sizes)
-
File the ends smooth
Step 2: Create the Base Ring
-
Form a basic ring as described above, but leave both ends straight and extending outward
-
Shape the wire around the mandrel to your desired size
-
Don't secure the ends yet
Step 3: Form the Spiral
-
Use round-nose pliers to create a small loop at one end of the wire
-
Continue turning the pliers to form a spiral
-
Work slowly, adjusting the spiral as you go
-
Keep the spiral flat against the top of the ring
Step 4: Secure the Other End
-
Wrap the remaining straight end around the base of the ring band
-
Create 2-3 tight wraps
-
Cut any excess wire and tuck in the end
Step 5: Adjust and Finish
-
Ensure the spiral sits centered on top of the ring
-
Gently tap the band with a rawhide mallet to strengthen it
-
Polish your finished spiral ring
-
Take this ring for example The Copper Eternity Ring by Alexa Martha

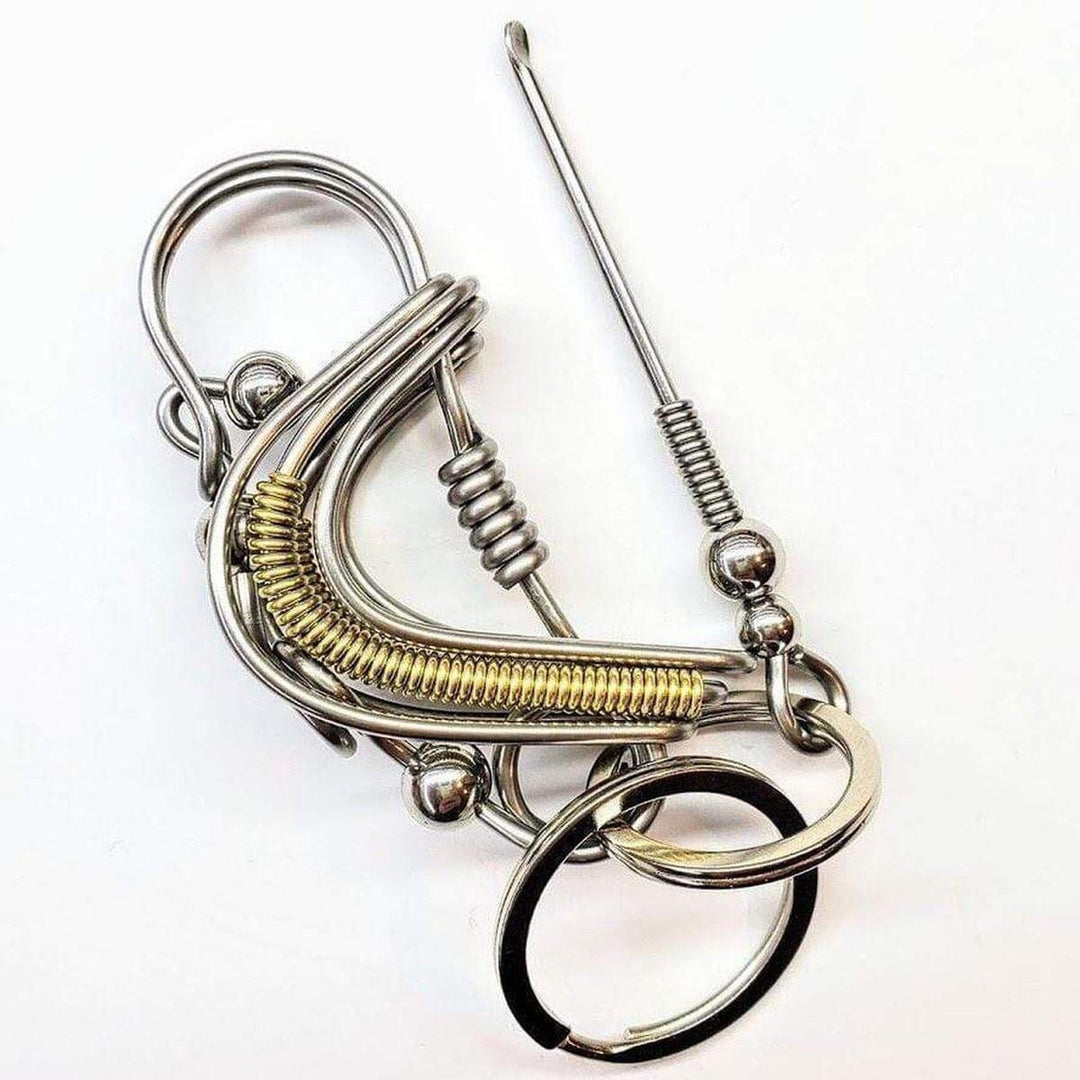
Advanced Technique: Wire-Wrapped Stone Ring
Ready for a challenge? Try incorporating a stone into your wire ring design:
Step 1: Choose Your Stone
-
Select a small bead, crystal, or tumbled stone
-
Ensure it has a relatively flat bottom or can be stabilized
Step 2: Prepare Your Wire
-
Cut 8-10 inches of wire (20-22 gauge works well)
-
For added strength, cut a second piece of the same length
Step 3: Create the Base Ring
-
If using two wires, hold them together as one
-
Form a basic ring on your mandrel, leaving long ends on both sides
-
The ring band should be sized correctly but not yet secured
Step 4: Position the Stone
-
Place your stone at the top center of the ring
-
Hold it in place with your finger
Step 5: Secure the Stone
-
Bring both wire ends up and cross them over the stone
-
Wrap each wire around the stone in opposite directions
-
Continue wrapping, creating an X-pattern over the stone
-
Each time you cross the wires, twist them together once for stability
Step 6: Create Decorative Elements
-
Once the stone is secure, use the remaining wire to create decorative loops
-
Form small spirals with your round-nose pliers
-
Position these spirals on either side of the stone
Step 7: Finish the Ring
-
Wrap any remaining wire around the band
-
Trim excess wire and tuck in the ends
-
Gently adjust the position of the stone and decorative elements
-
Use a polishing cloth to shine the wire
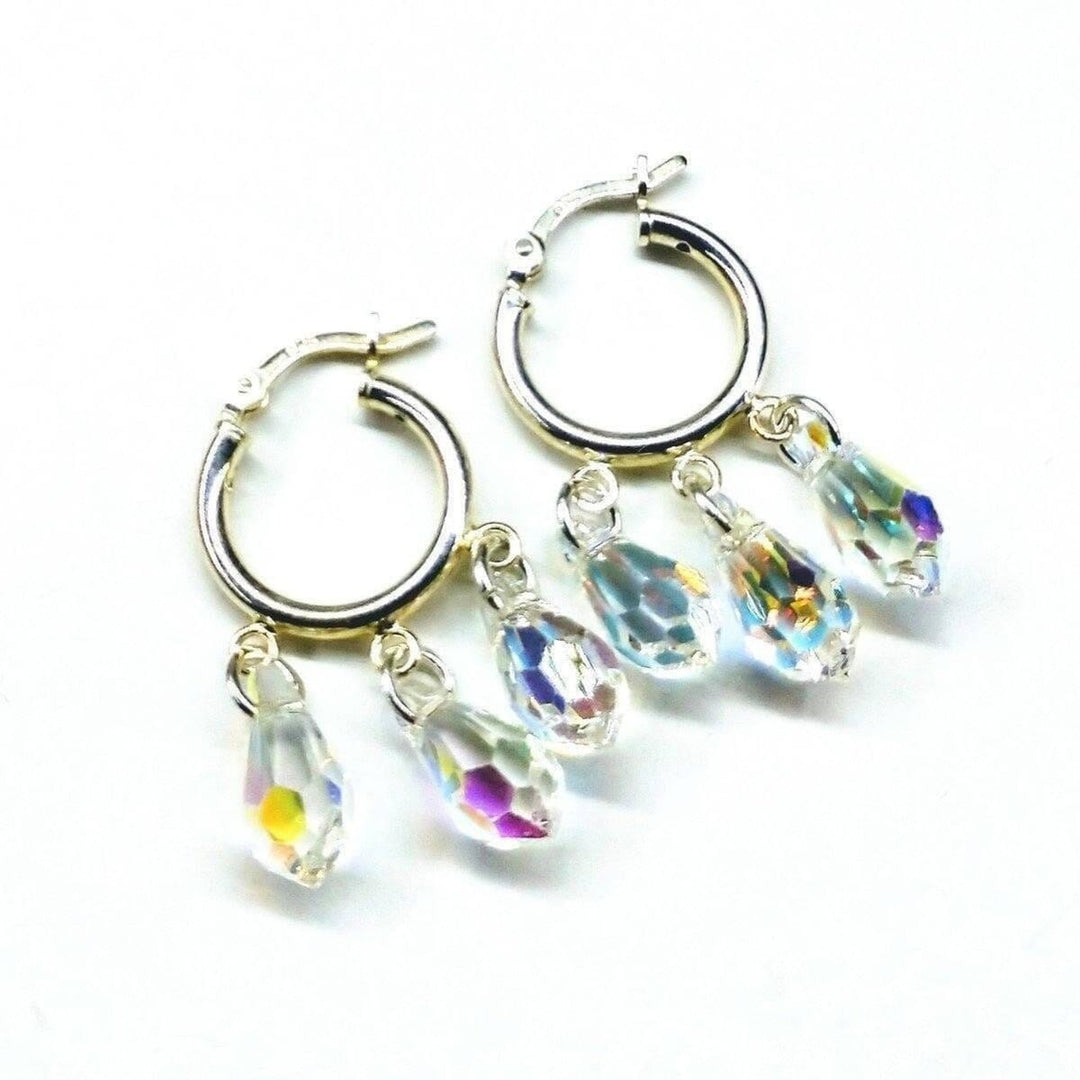
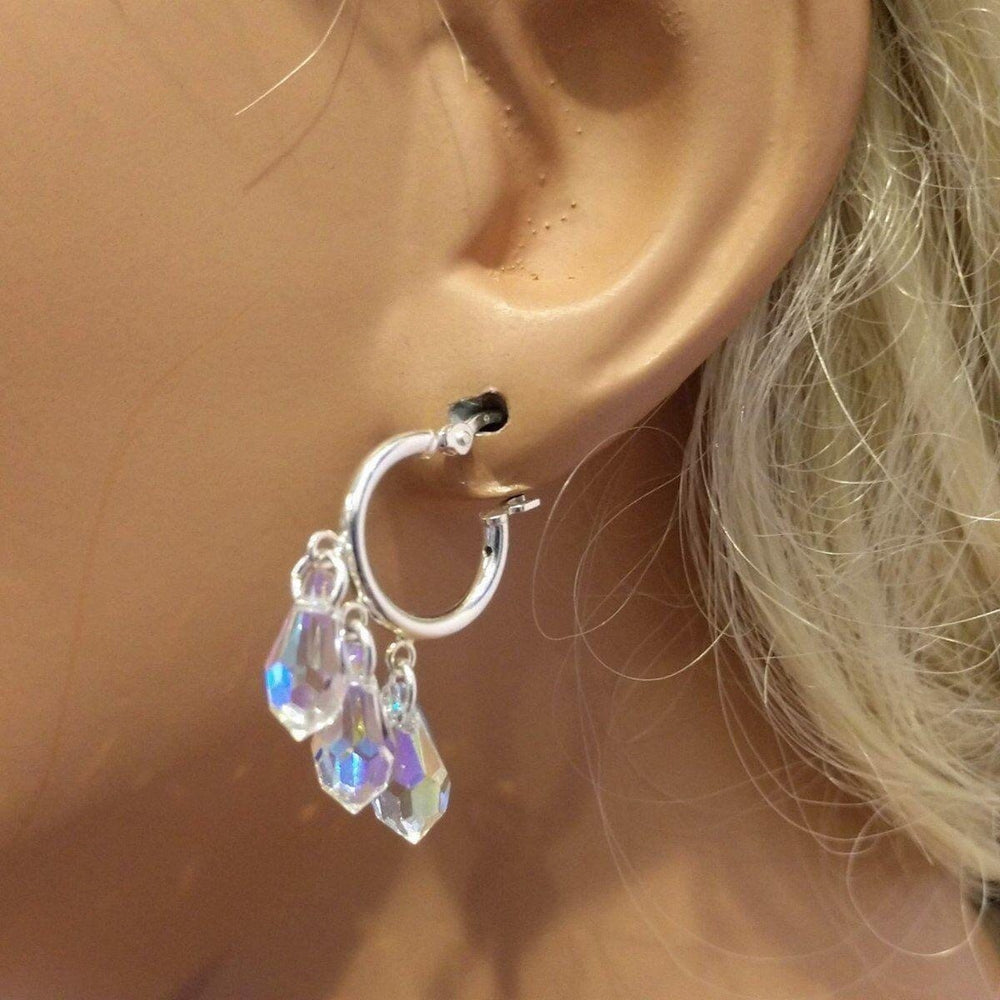
Take for example: Super Sparkly Crystal ABx2 Swarovski Crystal Shank Button Ring as seen on Maisie Williams


Common Mistakes and Troubleshooting
Problem: Ring Is Too Small
-
Solution: Gently stretch the ring by pulling opposite sides apart
-
Prevention: Always add a little extra wire and size up slightly
Problem: Sharp Wire Ends
-
Solution: File ends carefully and ensure they're tucked in completely
-
Prevention: Cut wire at straight angles and always file before finishing
Problem: Uneven Spirals
-
Solution: Use the tip of your round-nose pliers to adjust each loop
-
Prevention: Work slowly and adjust as you go
Problem: Stone Won't Stay in Place
-
Solution: Add more wire crosses over the stone and tighten wraps
-
Prevention: Choose a stone with an irregular shape that wire can grip
Caring for Your Wire Rings
-
Copper and brass rings will naturally patina over time. Use a jewelry polishing cloth to restore shine, or embrace the vintage look.
-
Sterling silver rings may tarnish. Store in an airtight container or with anti-tarnish strips.
-
Coated craft wire rings should be kept away from water and chemicals that might damage the coating.
-
Avoid wearing wire rings during rough activities that could bend or distort them.
Taking Your Wire Ring Skills Further
Once you've mastered these basic wire ring techniques, you can explore:
-
Incorporating multiple stones or beads
-
Using multiple wire colors for contrast
-
Adding texture with hammering techniques
-
Creating adjustable rings with open designs
-
Combining wire wrapping with basic metalsmithing
Take this ring for example : Wire Wrapped Lapis Lazuli Copper Ring

Conclusion
Learning how to make wire rings opens up endless possibilities for creating unique, personalized jewelry. From simple bands to intricate wire-wrapped designs, the techniques in this tutorial provide a foundation for developing your wire jewelry skills. With practice, patience, and creativity, you'll soon be crafting wire rings that showcase your personal style and craftsmanship.
Remember that wire jewelry making is as much about the process as the result—enjoy experimenting with different techniques, materials, and designs to discover your own distinctive wire ring style. Check out https://alexamarthadesigns.com for inspirations and the Wire Sculpting Class
Happy crafting!


Leave a comment